Creating a Kubernetes Cluster on AWS with Amazon EKS (Elastic Kubernetes Service)


Kubernetes is an open source container orchestration engine for automating deployment, scaling, and management of containerized applications. Kubernetes enables us to easily ship new code and effectively scale our application. A cluster is created when Kubernetes is deployed.
Amazon Elastic Kubernetes Service (Amazon EKS) is a managed Kubernetes service that makes it easy for you to run Kubernetes on AWS and on-premises.
Amazon EKS provisions and scales the Kubernetes control plane, including the application programming interface (API) servers and backend persistence layer, across multiple AWS Availability Zones (AZs) for high availability and fault tolerance.
You can use the AWS Management Console, AWS CLI or the eksctl command-line tool to get up and running with Amazon EKS in minutes. In this short and simple article, we will be creating an EKS cluster using the AWS console.
Create an EKS Cluster and Node Group with AWS Console
Step 1: Create IAM Roles for the EKS Cluster and Node Group
Create EKS Cluster IAM role:
- Proceed to the Roles tab in the Identity and Access Management (IAM) dashboard in the AWS Console.
- Select Create role
- Choose the type of trusted entity:
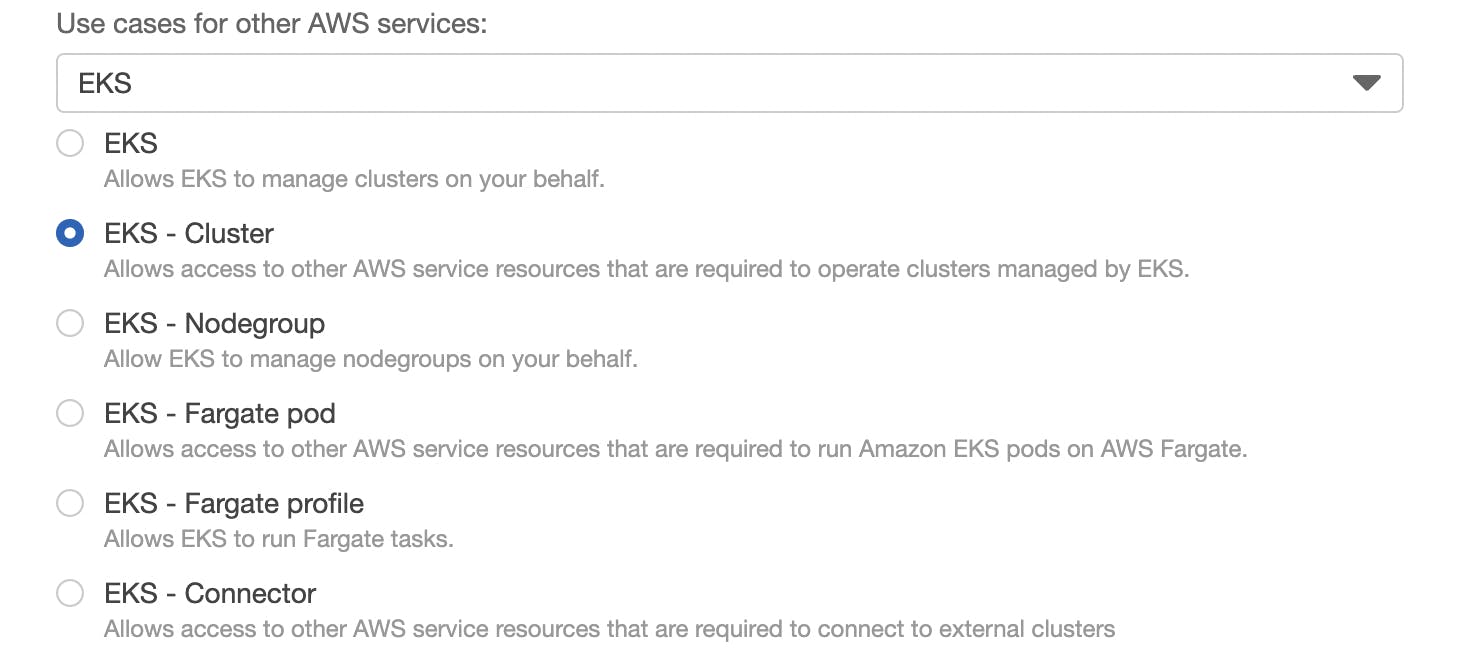
- Select EKS as the use case
- Choose EKS-Cluster
- Click Next: Permissions
- Click Next: Tags
- Click Next: Review
- Give the role a name, e.g. MyEKSClusterRole
- Click Create role
A notification stating The role AWSServiceRoleForAmazonEKS has been created should appear.
Create EKS Cluster Node Group:
- In the IAM Roles tab, select Create role.
- Choose the type of trusted entity:
- Choose EC2 as the use case
- Select EC2
- Click Next: Permissions
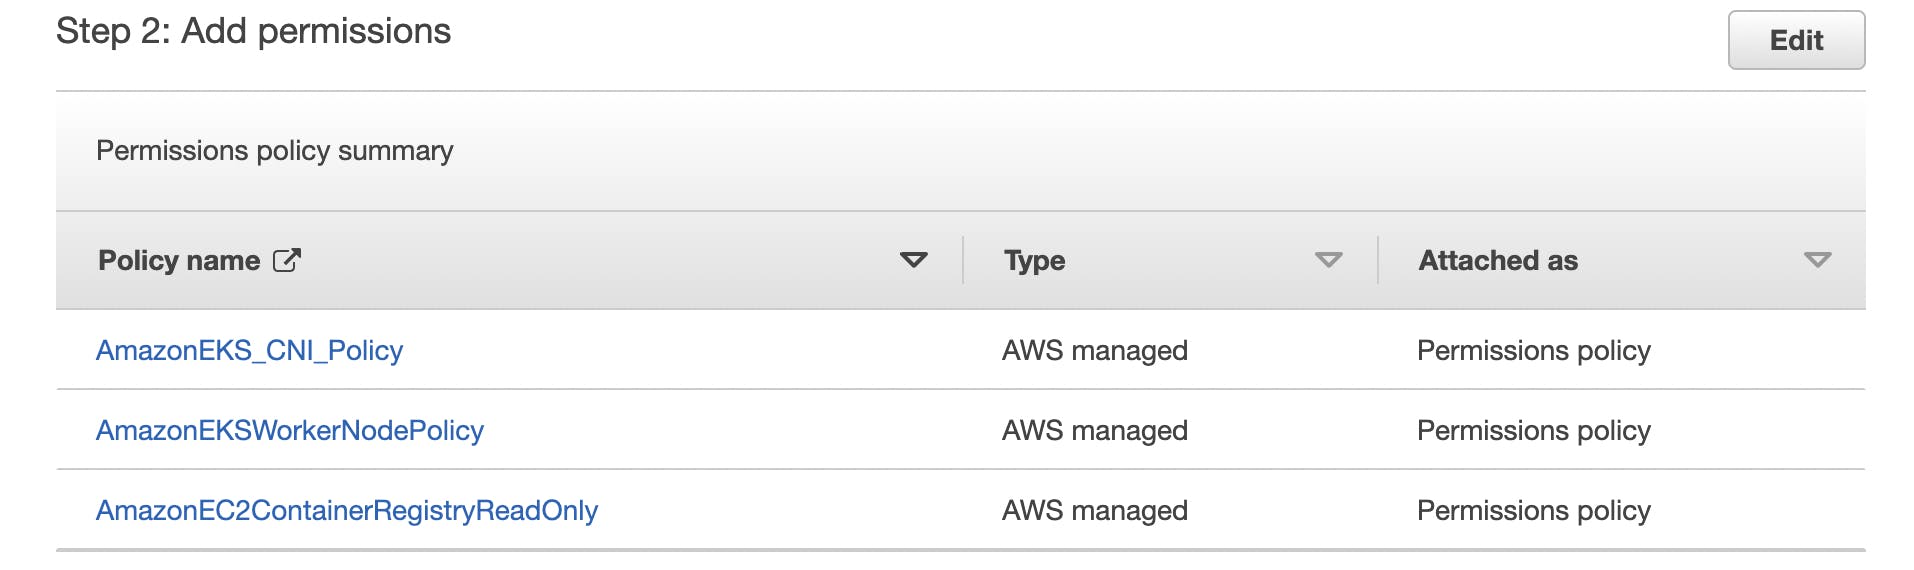
- In the Attach permissions policies, search for each of the following and check the box to the left of the policy to attach it to the role:
- AmazonEC2ContainerRegistryReadOnly
- AmazonEKSWorkerNodePolicy
- AmazonEKS_CNI_Policy
- Click Next: Tags
- Click Next: Review
- Give the role a name, e.g. MyNodeRole
- Click Create role
A notification stating The role AWSServiceRoleForAmazonEKSNodegroup has been created should appear.

Step 2: Create an SSH Pair
- Navigate to the Amazon EC2 console at console.aws.amazon.com/ec2.
- In the navigation pane, under Network & Security, select Key pairs .
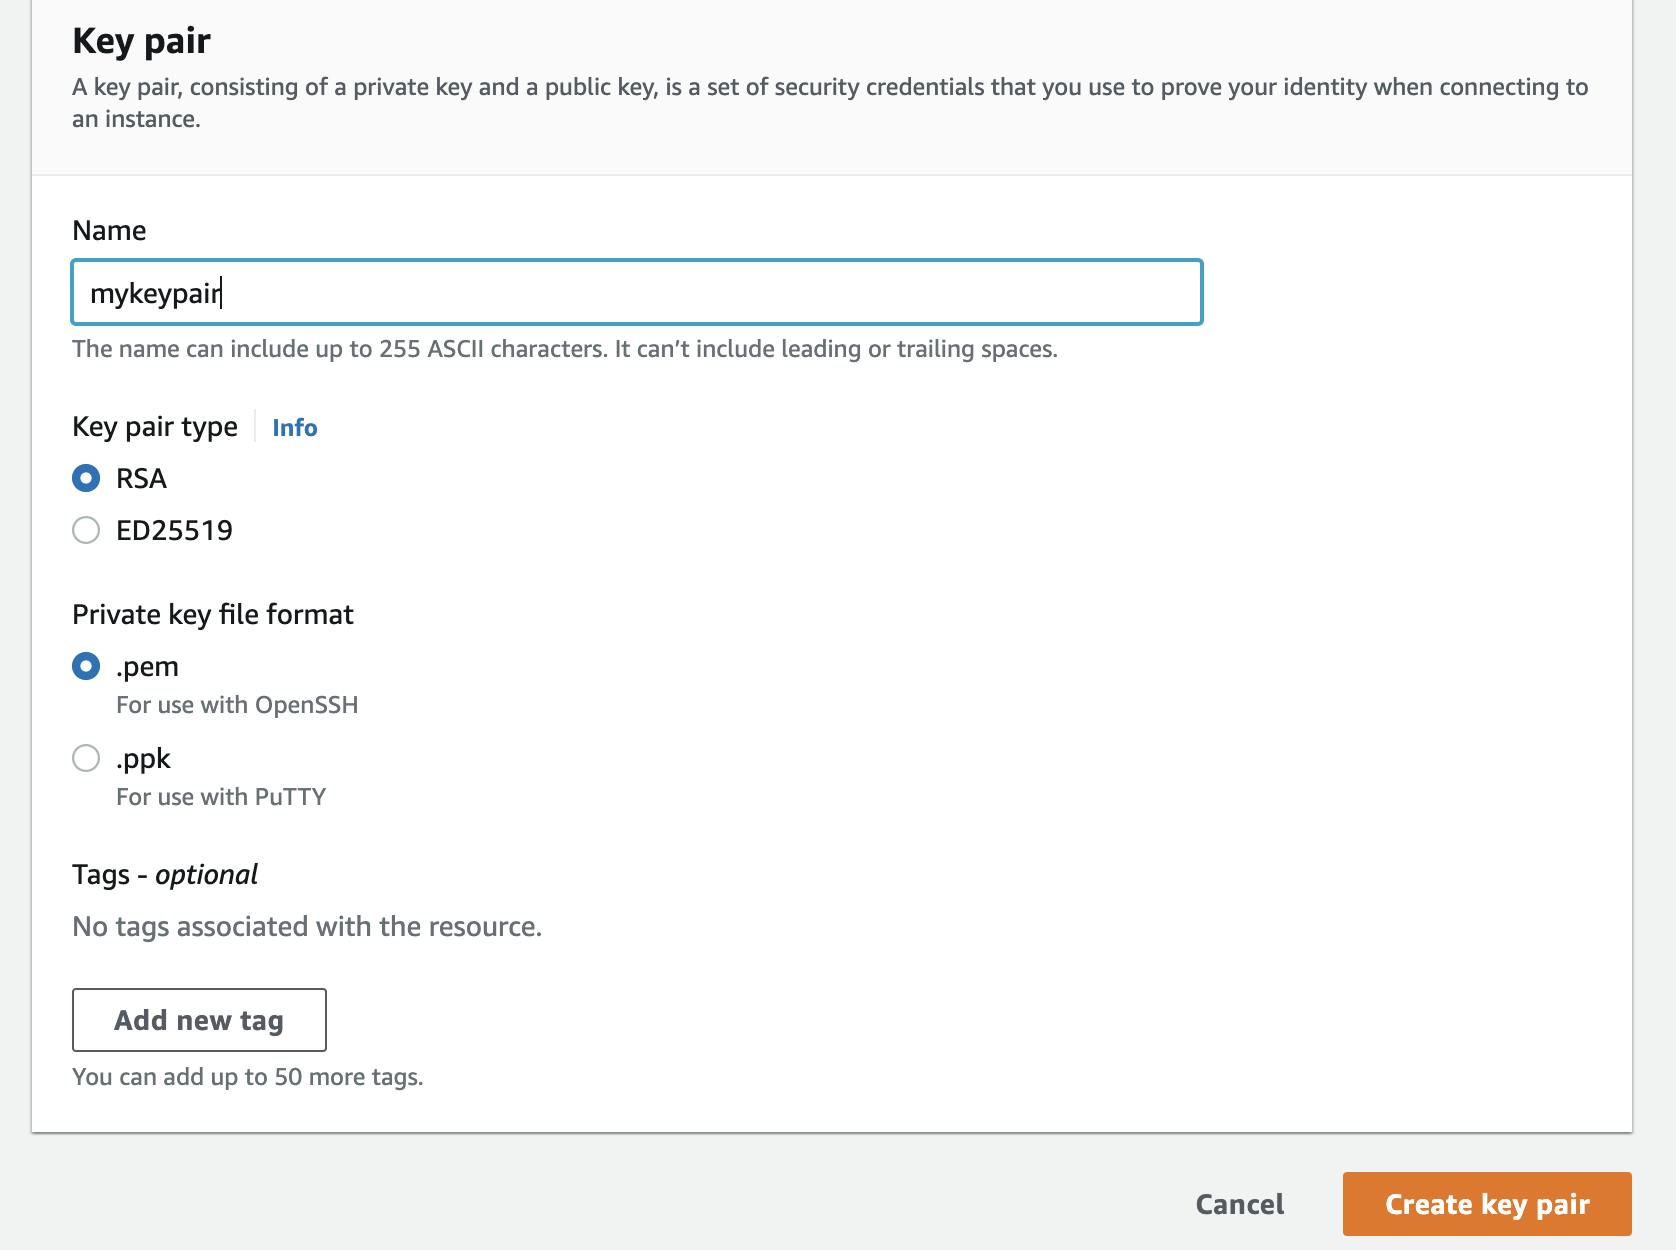
- Select Create Key pair:
- Give the key pair a name, (e.g. mykeypair)
- Select RSA for Key pair type
- For Private key file format, select .pem (to save the private key in a format that can be used with OpenSSH.)
Select Create key pair
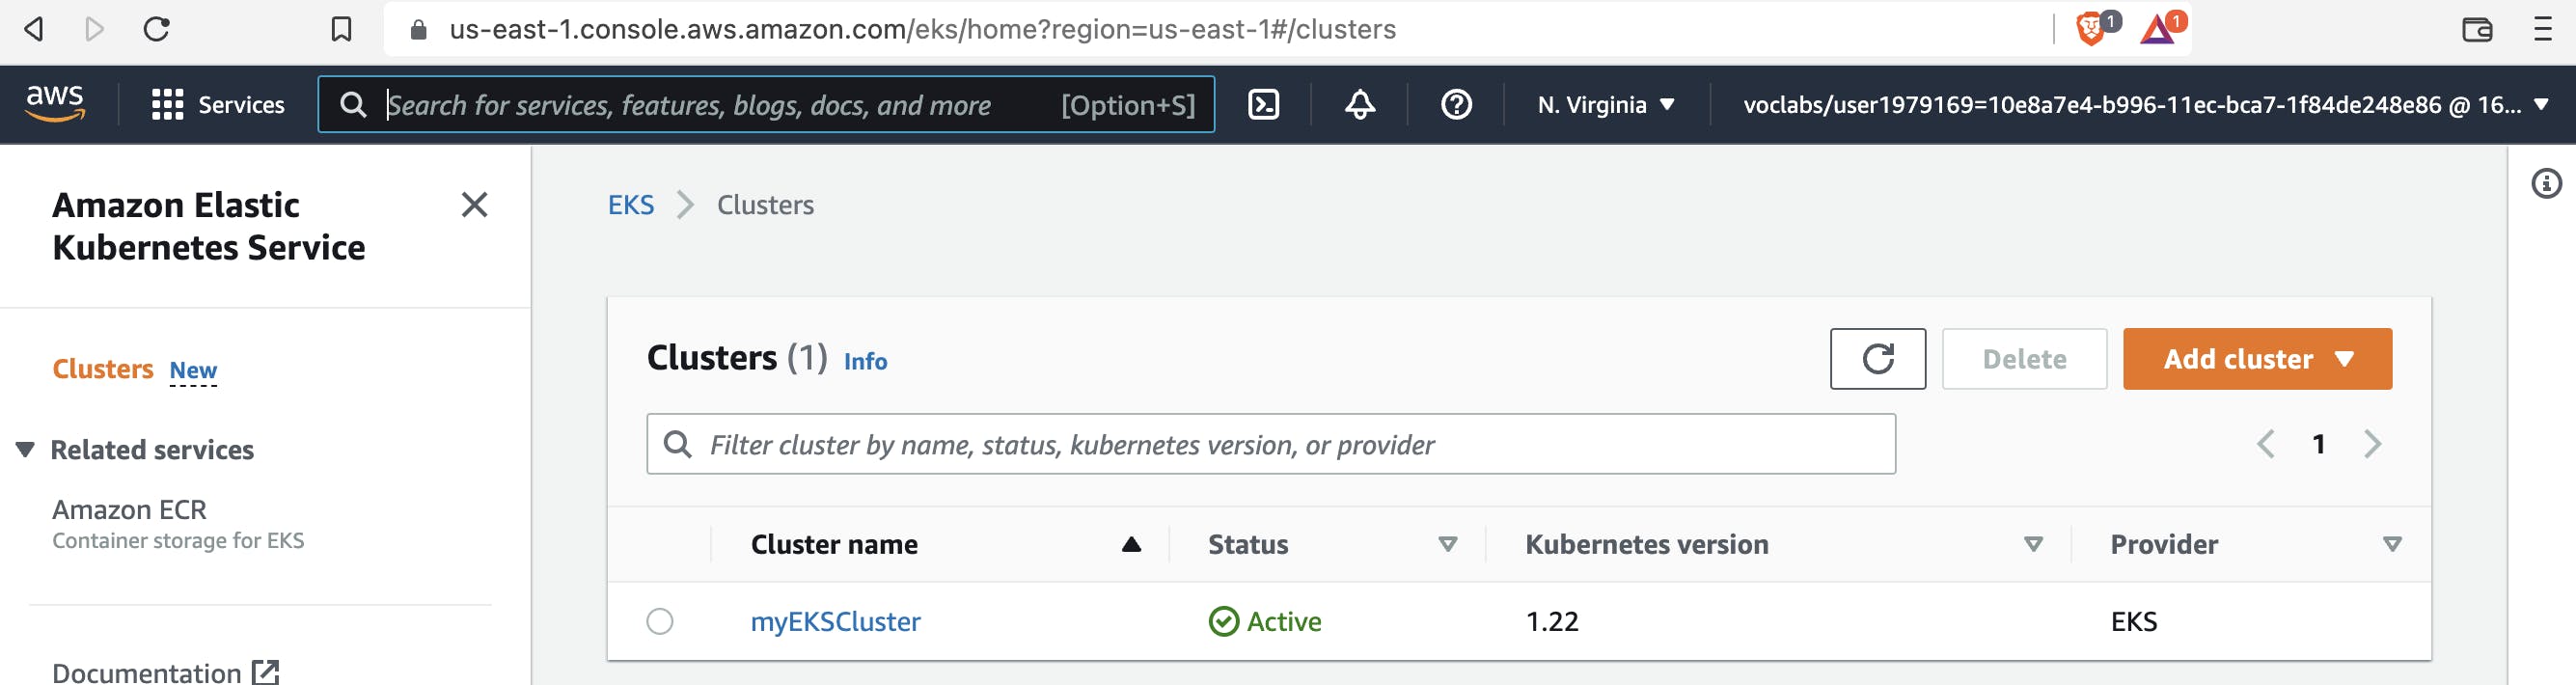
Step 3: Create an EKS Cluster
- Proceed to the Clusters tab in Amazon EKS dashboard in the AWS Console.
- Select Create cluster from the Add Cluster button on the EKS dashboard.
- Specify:
- a unique Name (e.g. MyEKSCluster)
- Kubernetes Version (e.g. 1.22 )
- Cluster Service Role (select the role you created above, e.g. MyEKSClusterRole )
- Click Next
- In the Specify networking section, look for Cluster endpoint access, click the Public radio button (to allow the cluster endpoint to be accessible from outside of your VPC)
- Click Next and Next
- In Review and create, click Create
The EKS cluster takes 5-15 minutes for to be created.
Troubleshooting: You might get a notification that says: "Cannot create cluster the targeted availability zone does not currently have sufficient capacity to support the cluster", if you do, choose another availability zone and try again. You can set the availability zone in the upper right corner of your AWS console, where you can also find your AWS Region eg N.Virginia(us-east-1).
To learn more about AWS Regions and Availability Zones, please visit their Global Infrastructure.
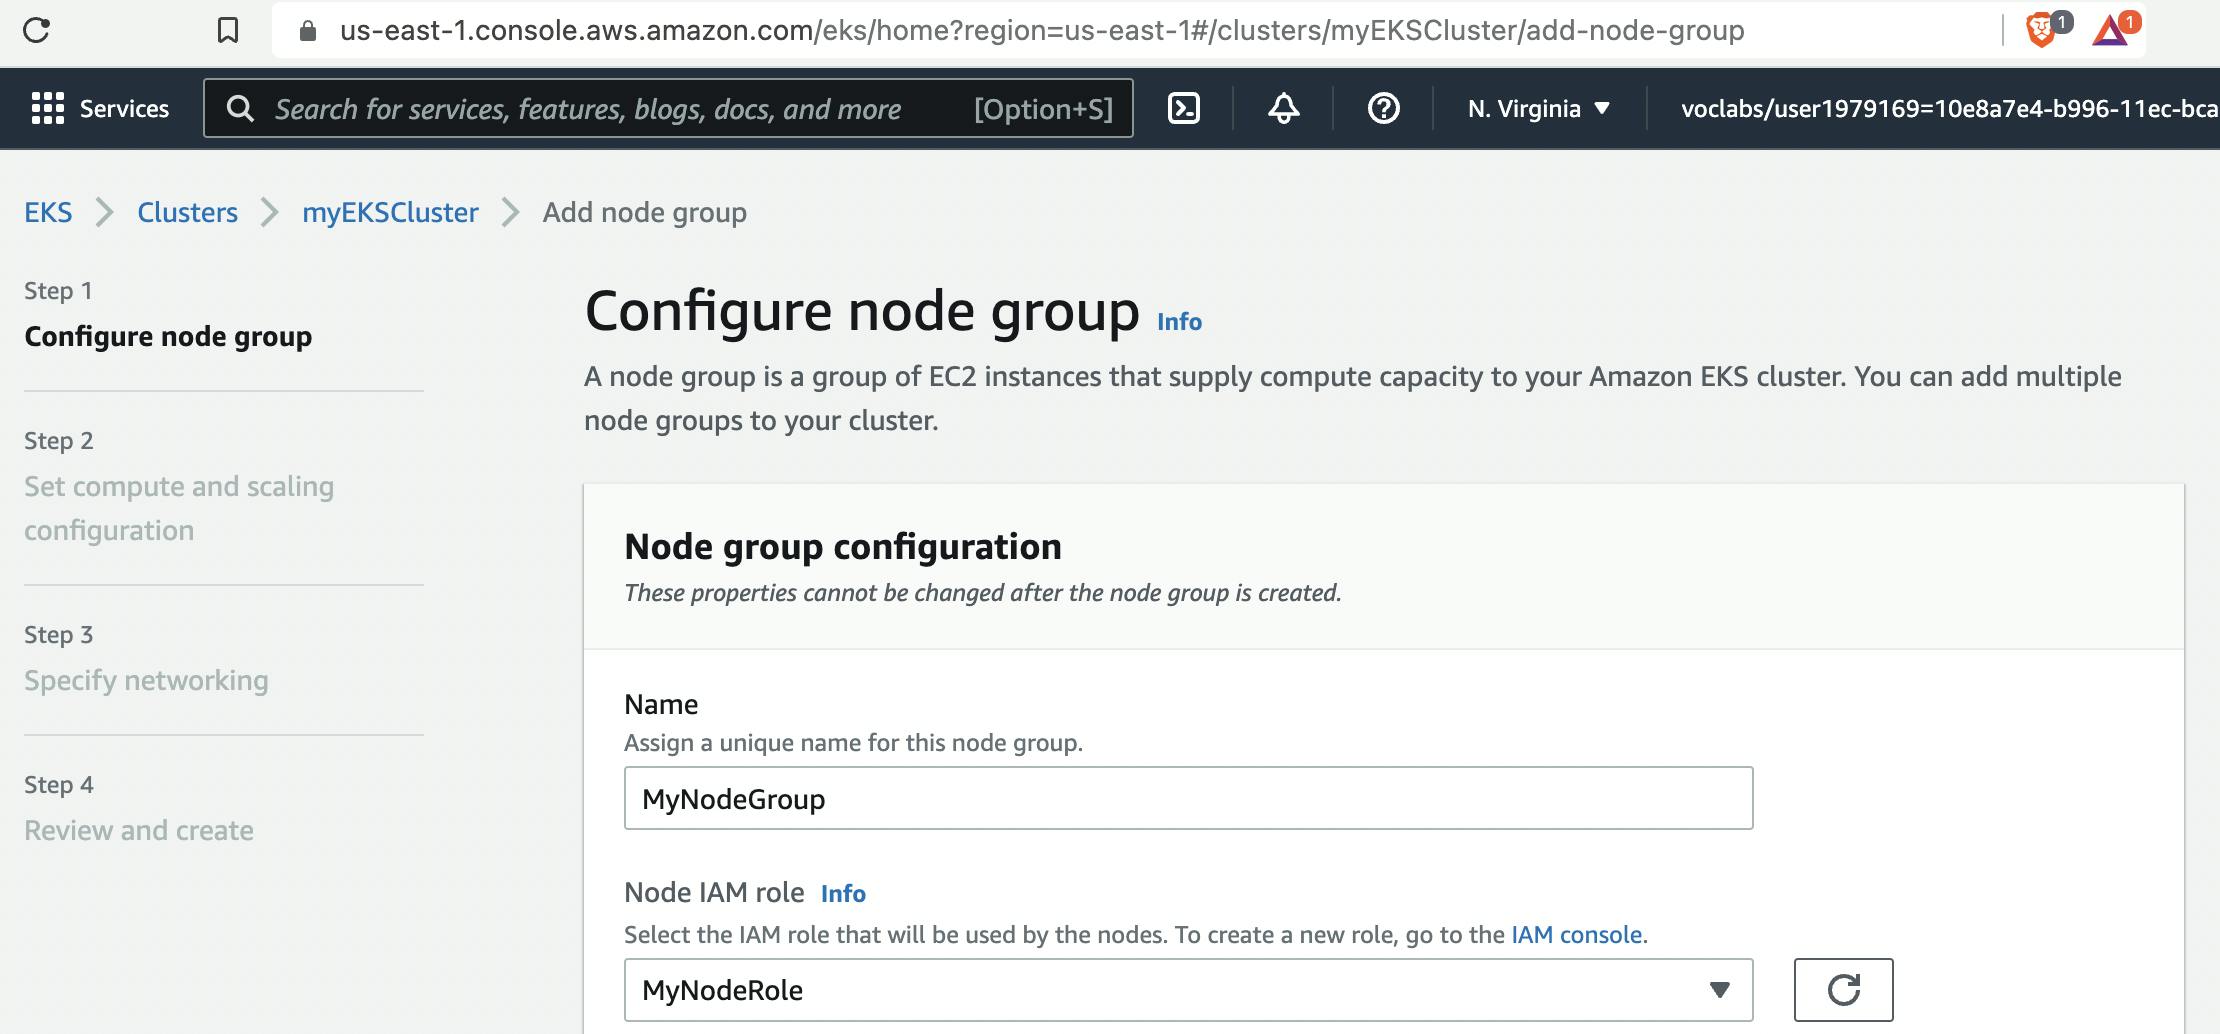
Step 4: Create a Node Group
- Select on the Compute tab in your newly-created cluster
- Click Add Node Group
- Specify:
- a unique Name (e.g. MyNodeGroup )
- Cluster Service Role (select the role you created above, e.g. MyNodeRole )
- In Node Group compute configuration, set instance type to t3.micro and disk size to 4 to minimize costs
- In Node Group scaling configuration, set the number of nodes to 2
- Select Next
- In Node Group network configuration, toggle on Configure SSH access to nodes
- Select the EC2 pair created above (e.g. mykeypair )
- At the Allow SSH remote access from section, Select All
- Click Next
- Review the configuration and click "Create"
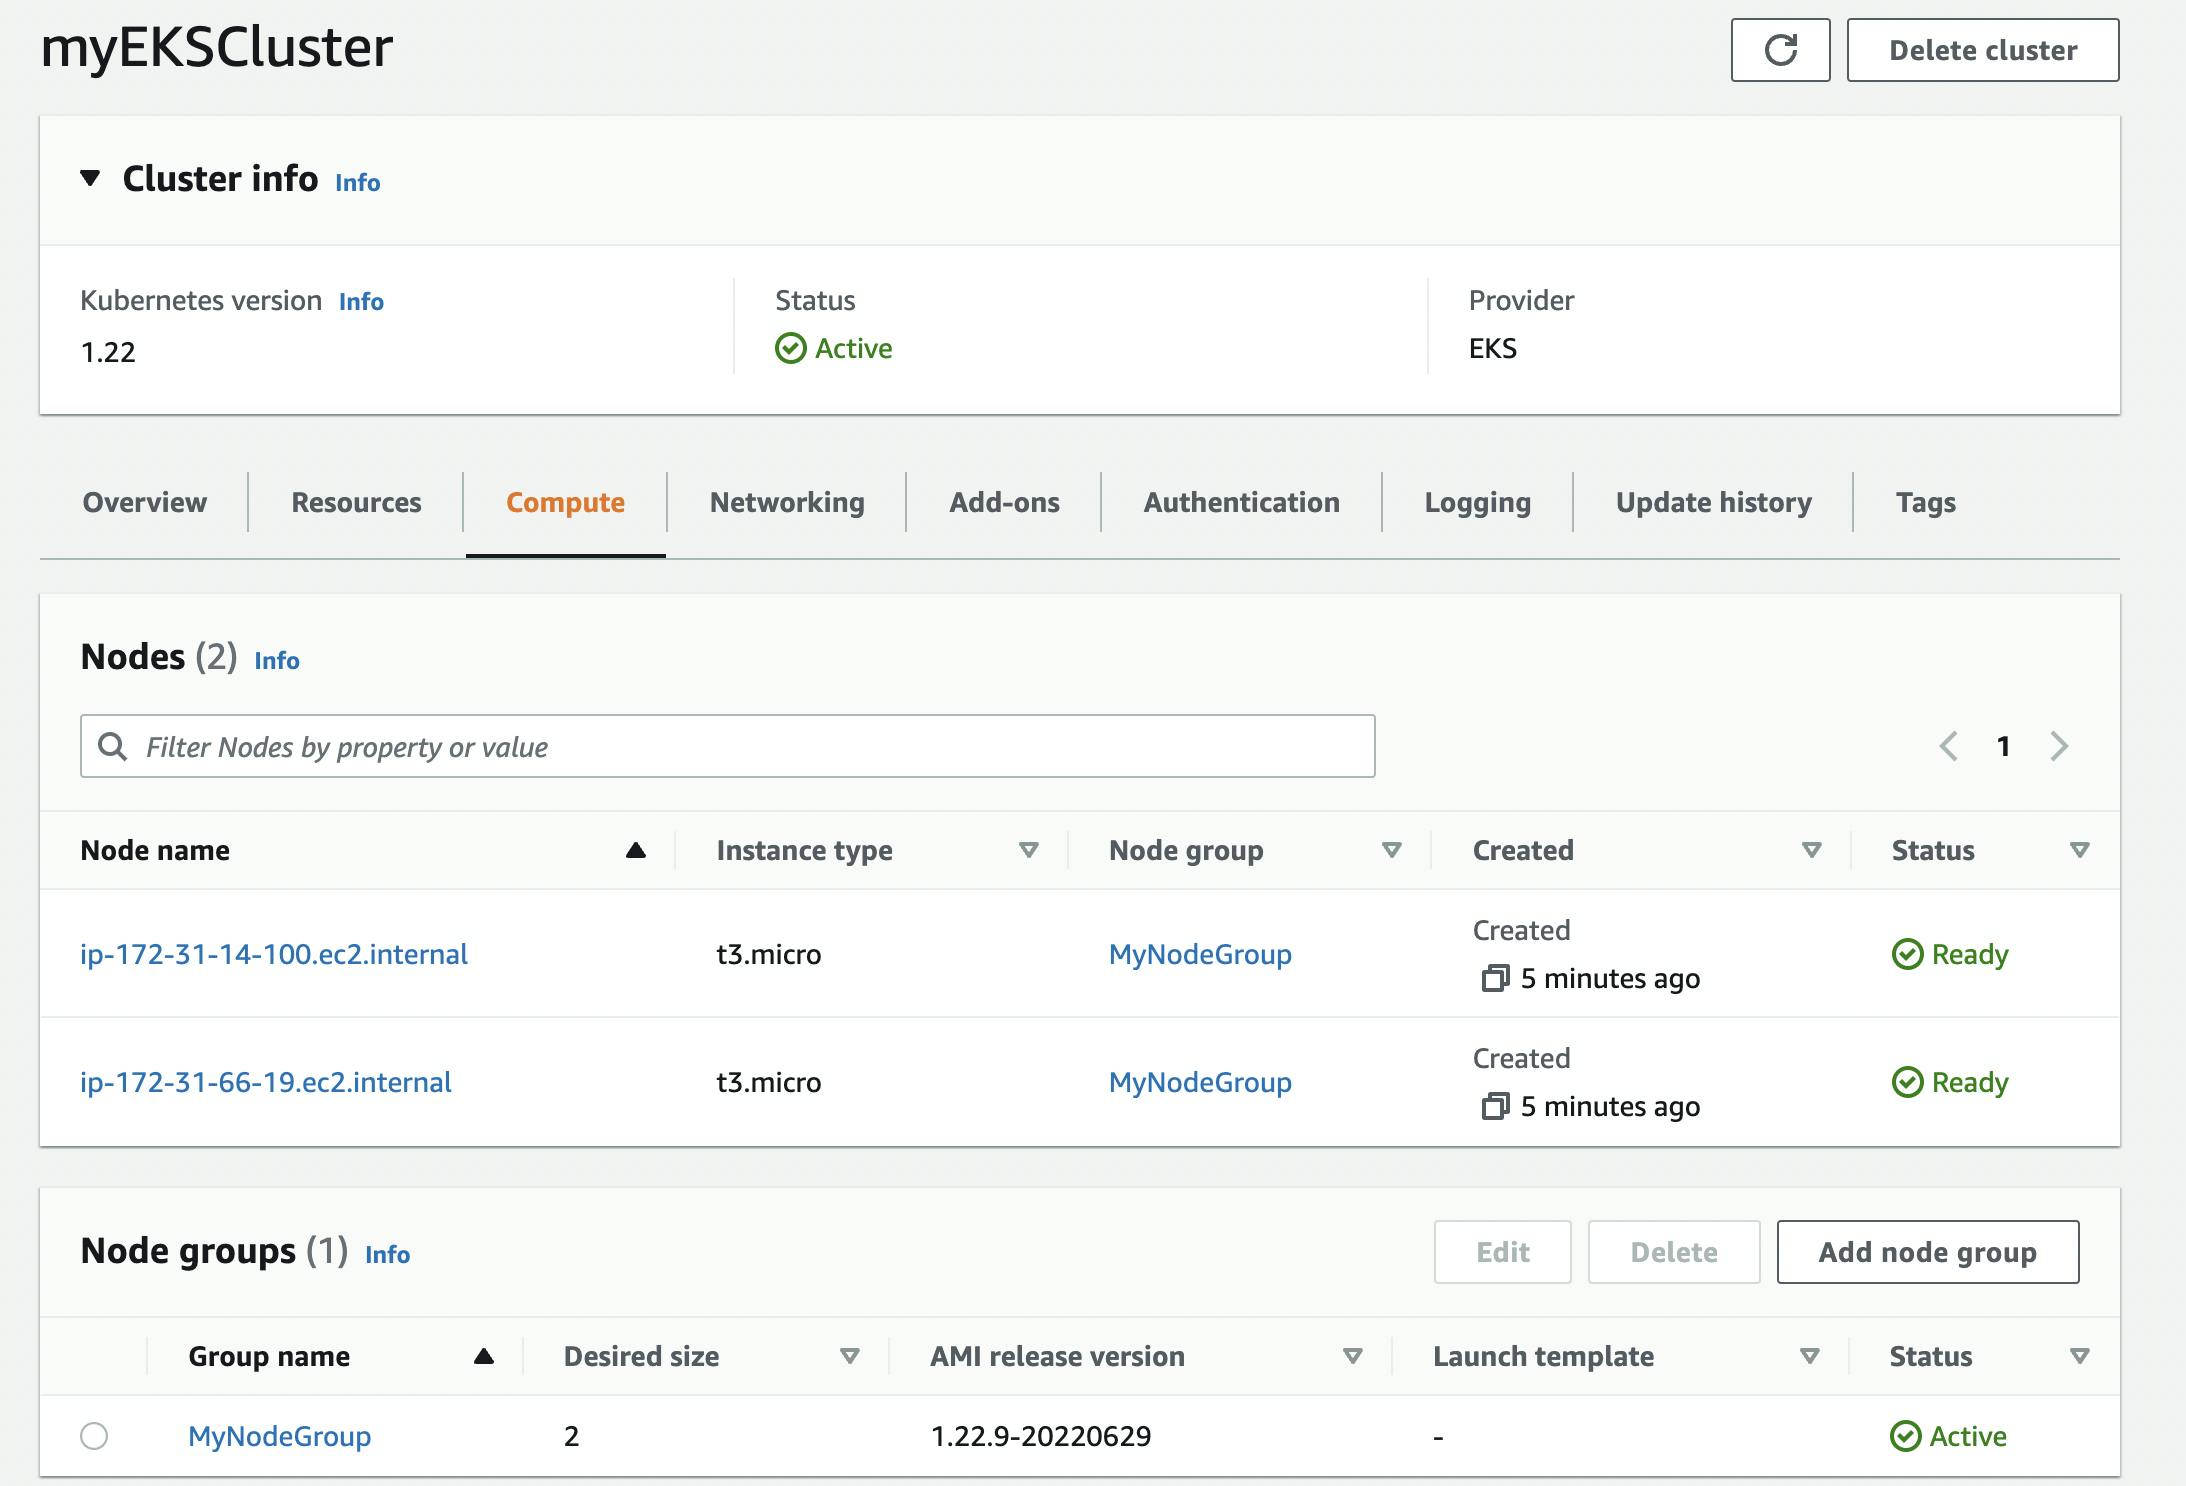
Congratulations you have created your first Kubernetes Cluster & NodeGroup on Amazon EKS!!
Step 5: Delete Running Services
The services you created will need to be deleted in order. Each step can take several minutes.IMPORTANT! Don't forget to delete the services you created when you no longer need them.
- You first delete the Node Group
- Then you delete the EKS Cluster
Additional Information: You can read more on creating an EKS Cluster on the official AWS EKS website here