


Amazon Simple Storage Service (Amazon S3) is an object storage service that offers cutting-edge durability, scalability, data availability, security and performance at very low costs.
We will be hosting a static website on Amazon S3 and accessing the cached website pages using Amazon CloudFront content delivery network (CDN) service.
Amazon CloudFront is a web service that gives businesses and web application developers an easy and cost effective way to distribute content with low latency and high data transfer speeds. Amazon CloudFront offers low latency and high transfer speeds during website rendering.
In this project, we will deploy a static website to AWS by creating a public S3 bucket and uploading the website files to our S3 bucket. We will then configure the bucket for website hosting and secure it using IAM policies. We will speed up content delivery using AWS content distribution network service, CloudFront. Finally, we will access our website in a browser using the unique CloudFront endpoint.
You need prior access to an Amazon Web Services(AWS) account. If you are completely new to Amazon Web Services, you can sign up and create a Free Tier account in minutes. Sign up here
Create an S3 Bucket
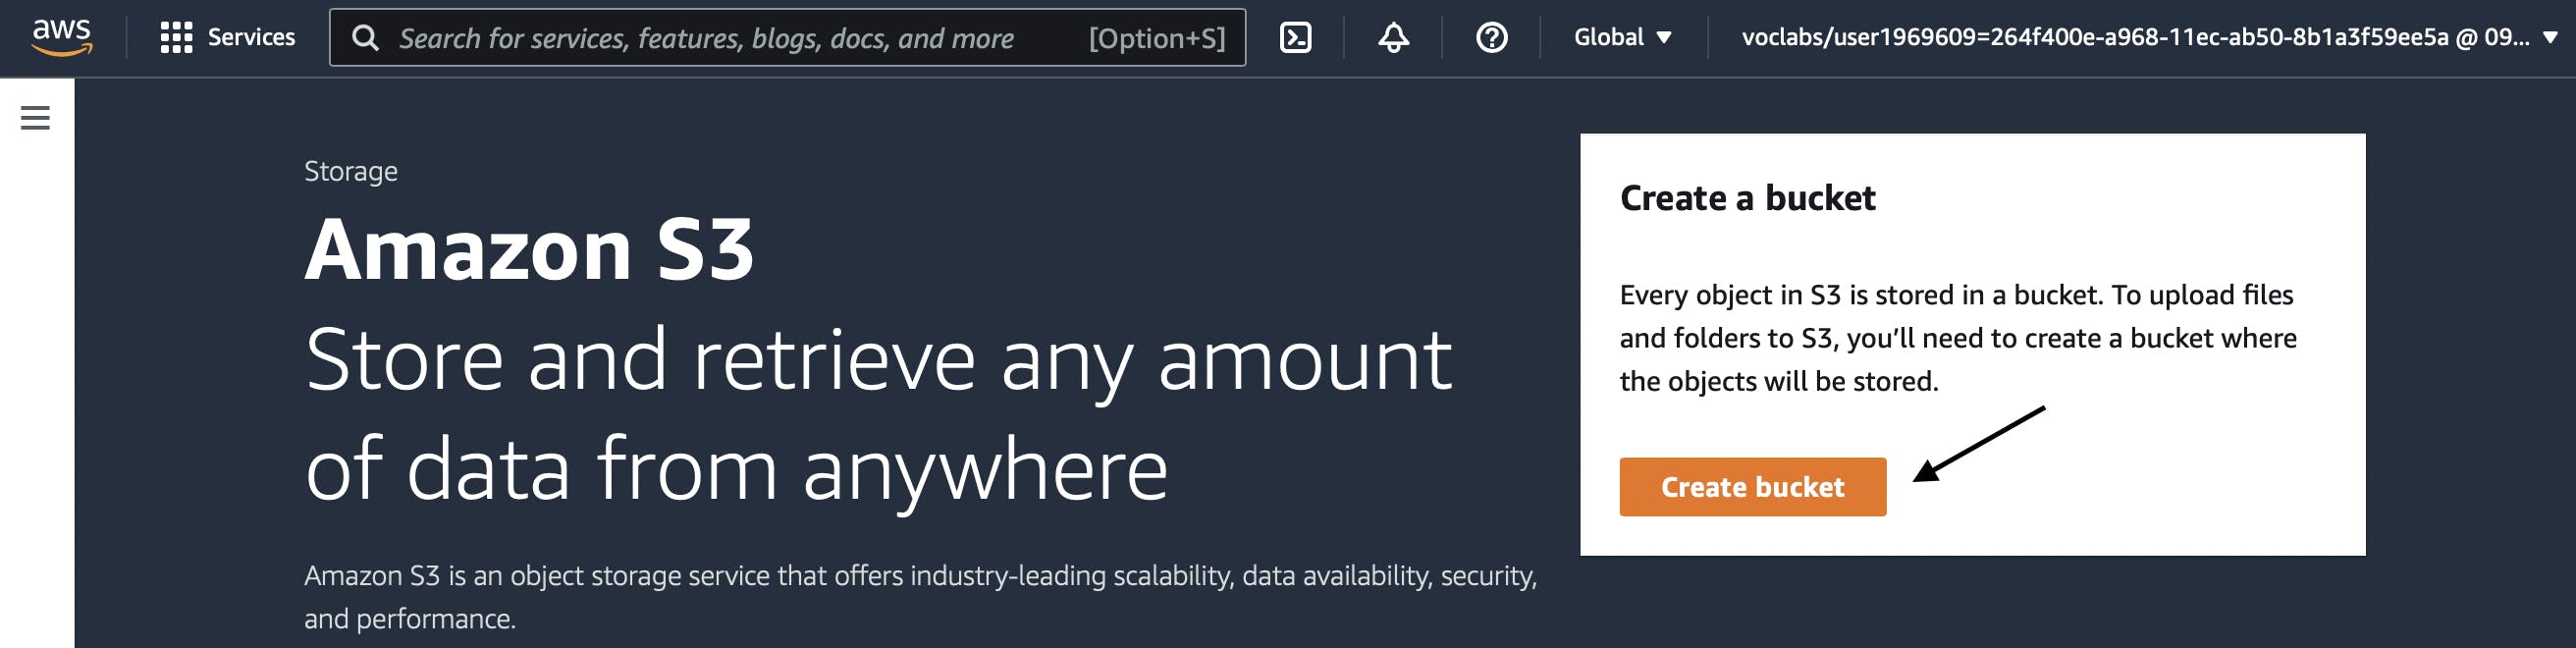
- After creating your AWS account, you will be directed to the AWS Management Console page, type “S3” in the “Search for Services” box and then select “S3”.

- The Amazon S3 dashboard displays. Click on “Create bucket”.
- The Create bucket wizard opens. Enter a “Bucket name” and a region of your choice. The bucket name must be unique across all of Amazon S3 and only contain with lowercase characters.

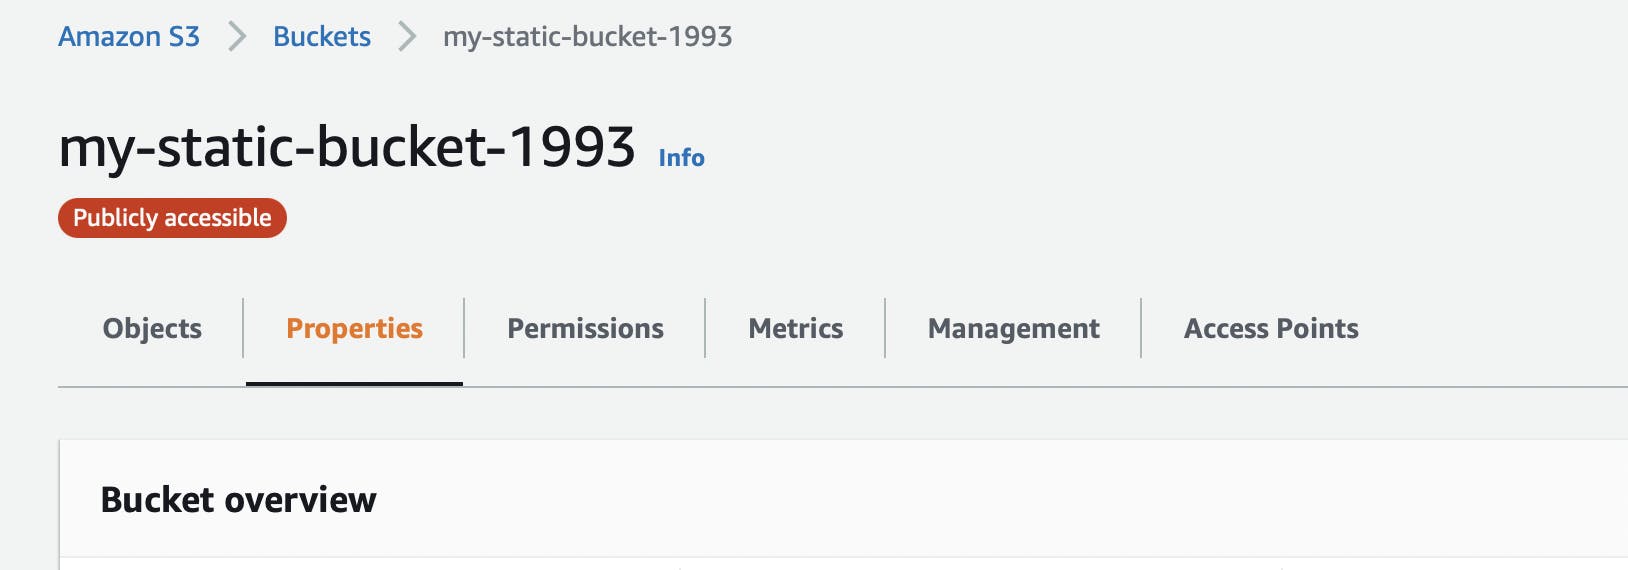
- In the Bucket settings for Block Public Access section, uncheck the “Block all public access”. It will enable the public access to the bucket objects via the S3 object URL.
Check the "I acknowledge that the current settings might result in this bucket and the objects within becoming public" in order to proceed.
> Note - We are allowing the public access to the bucket contents because we are going to host a static website in this bucket. Hosting requires the content should be publicly readable.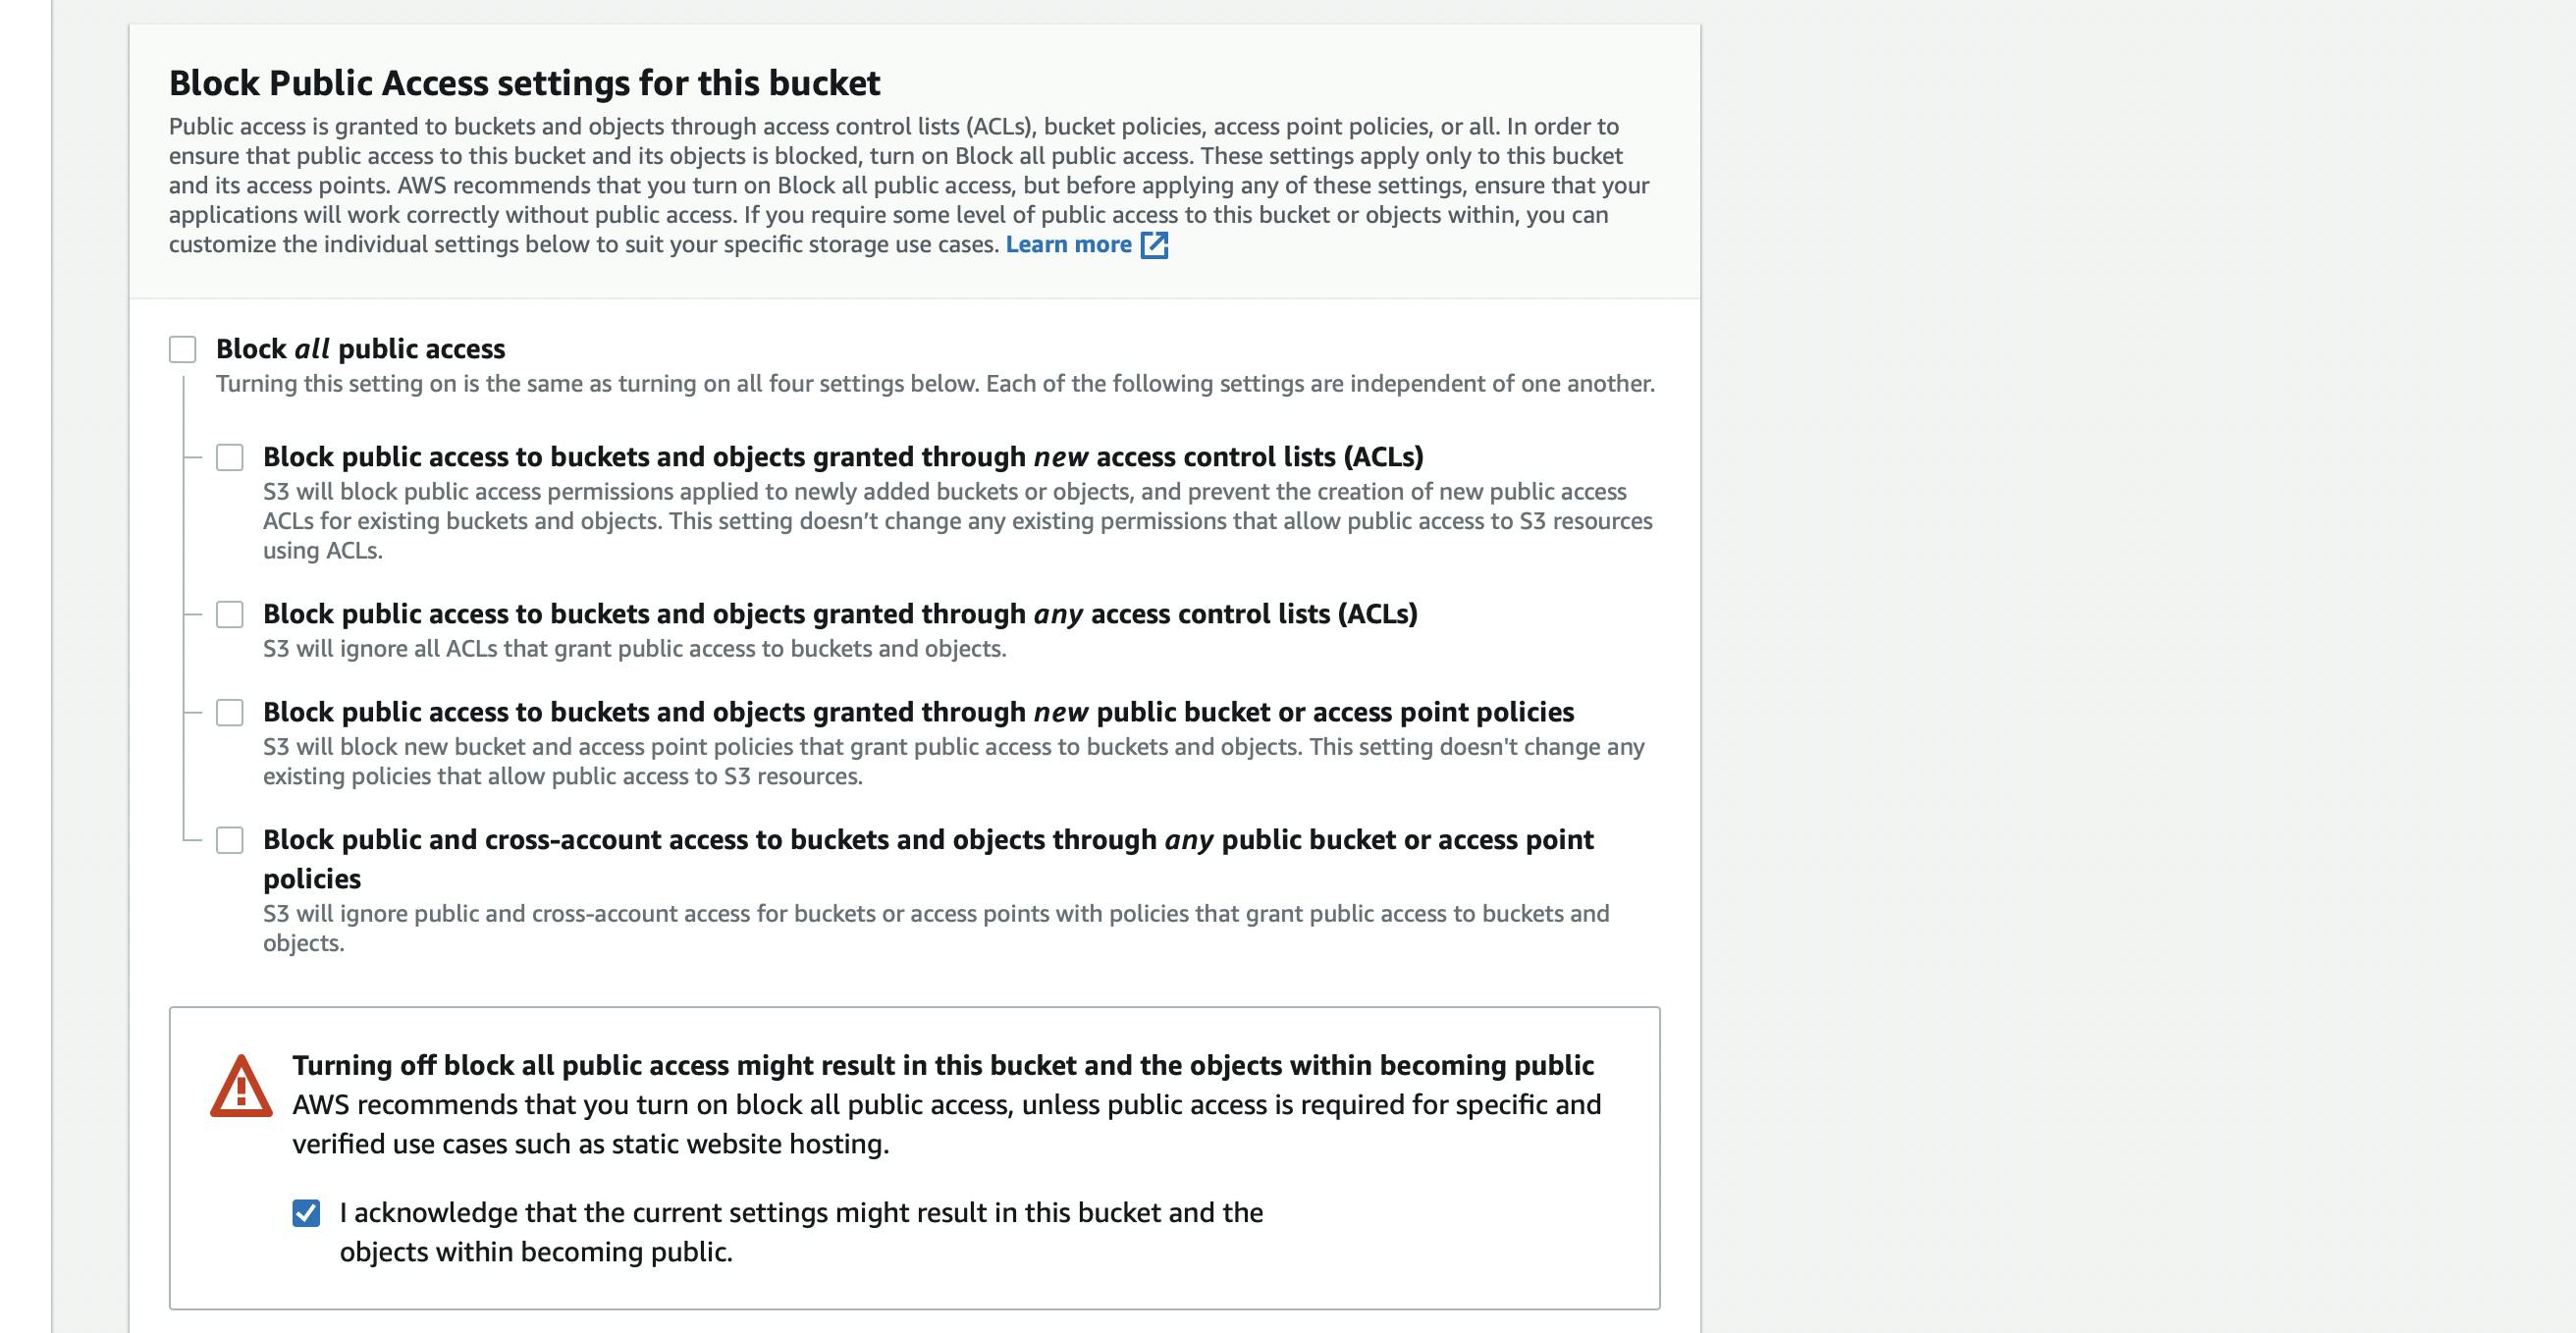
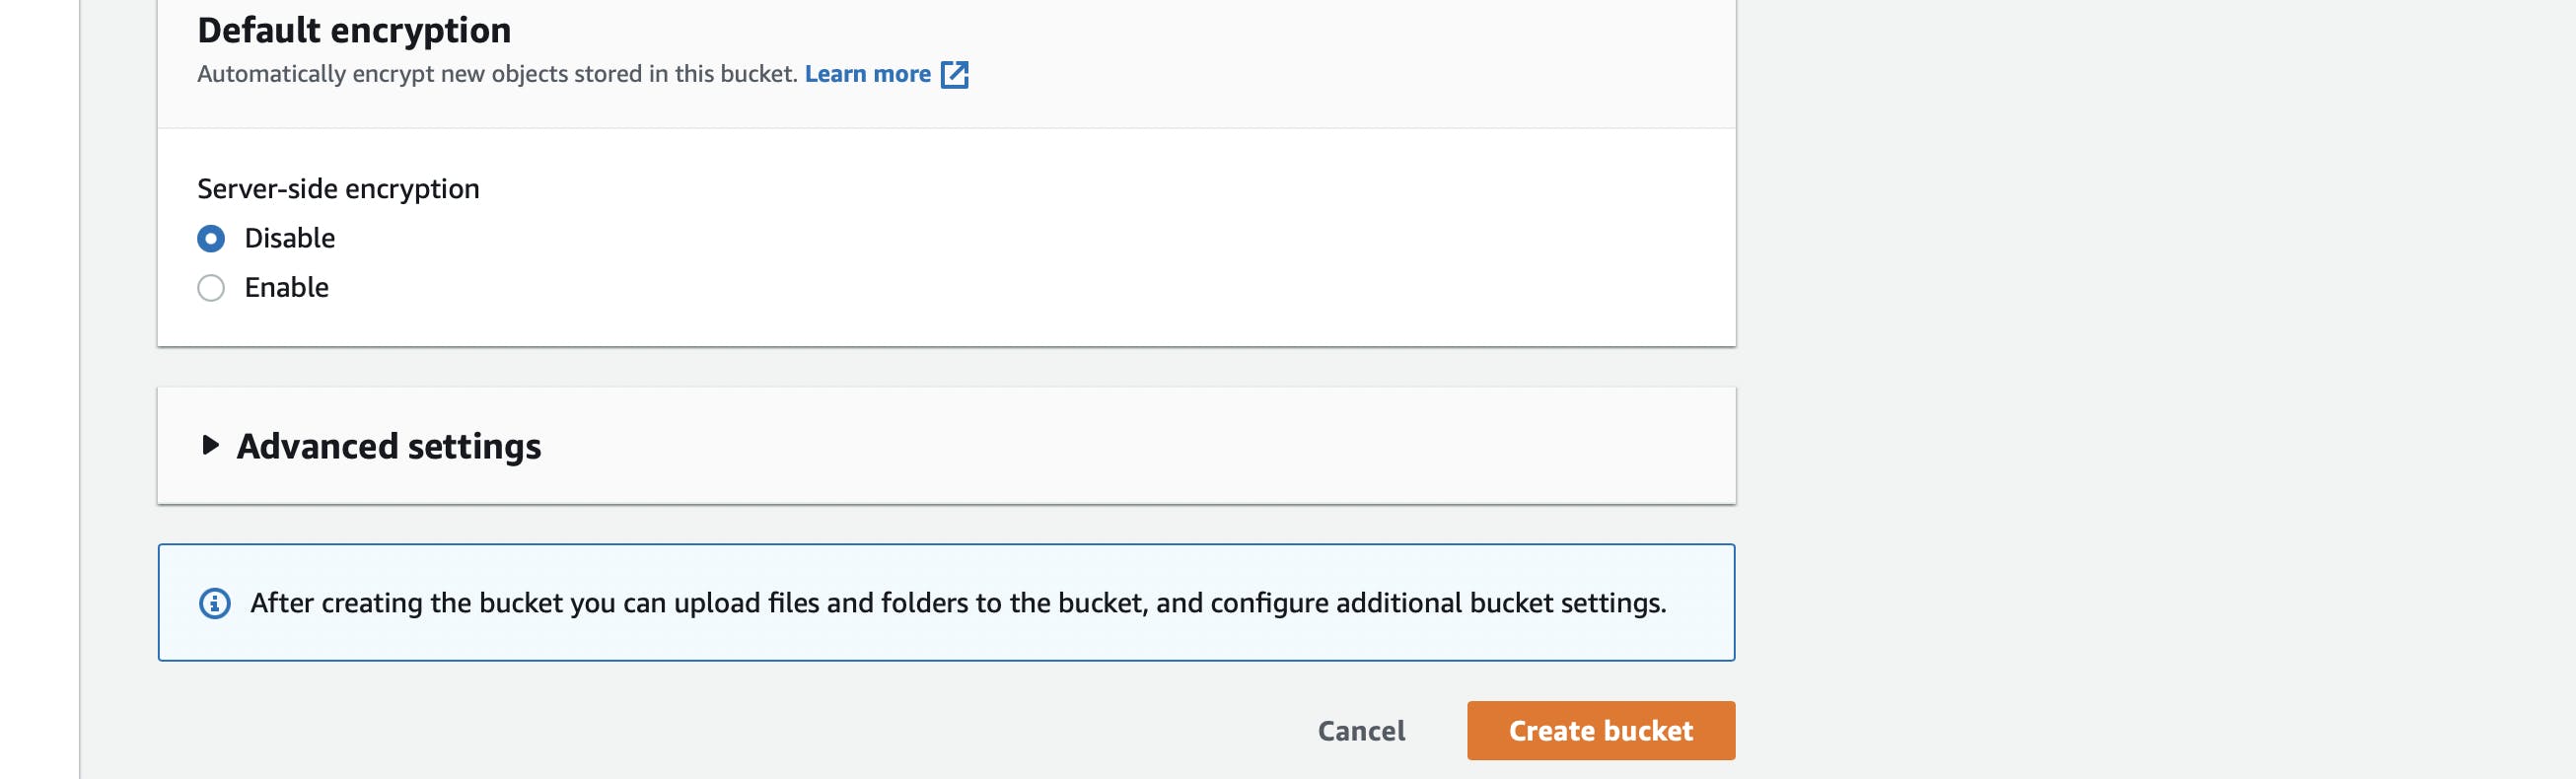
- Click “Next” and click “Create bucket”.
> You've created a bucket in Amazon S3.
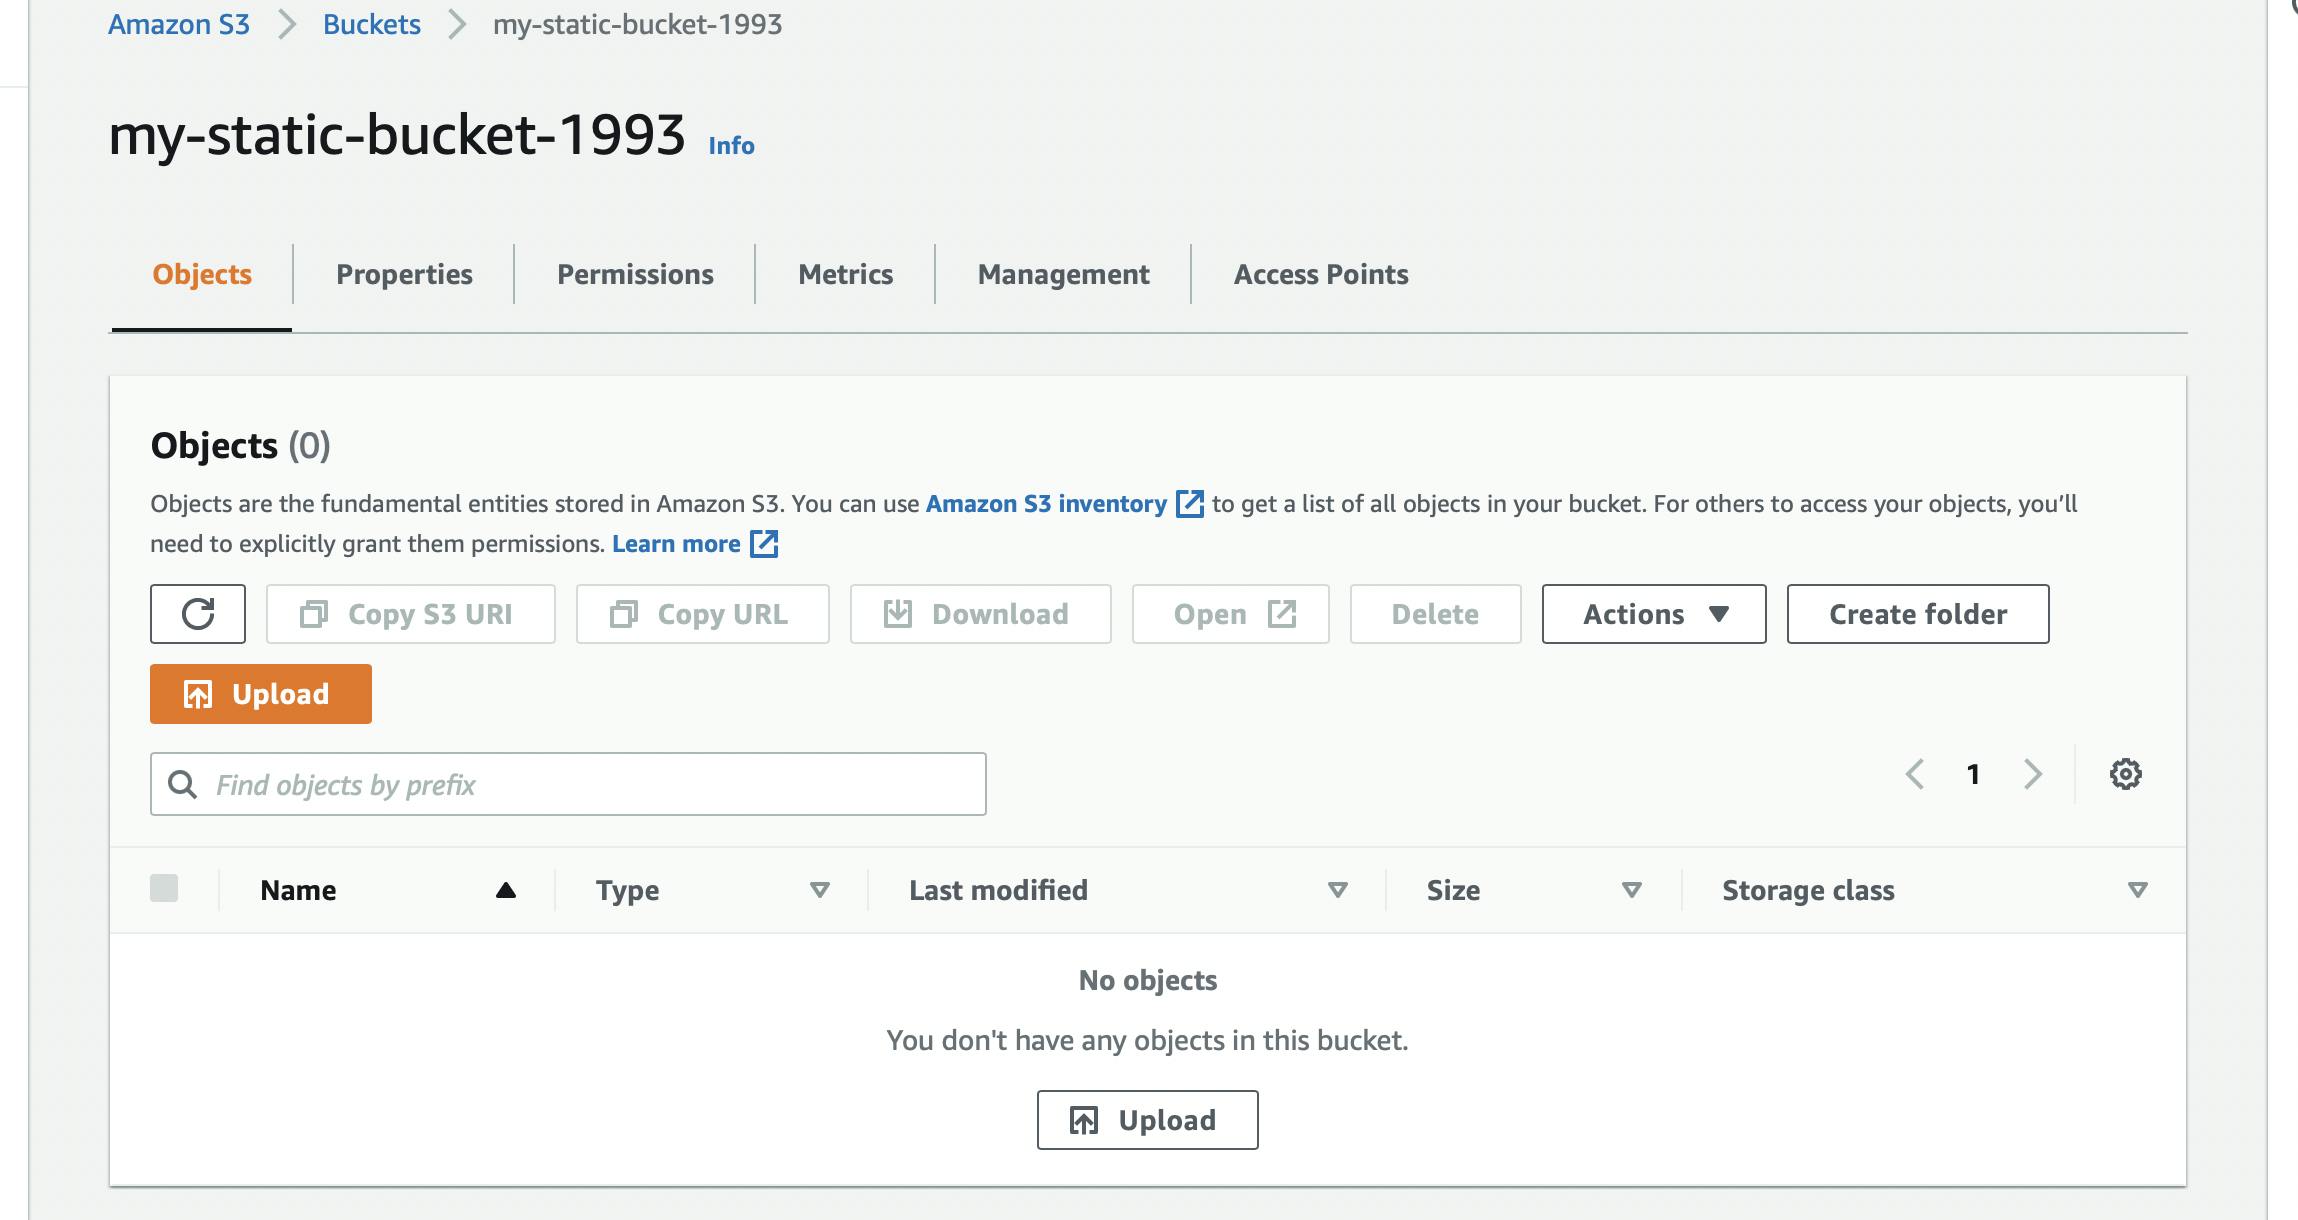
- Once the bucket is created, click on the name of the bucket to open the bucket to the contents.
Upload files to your S3 Bucket
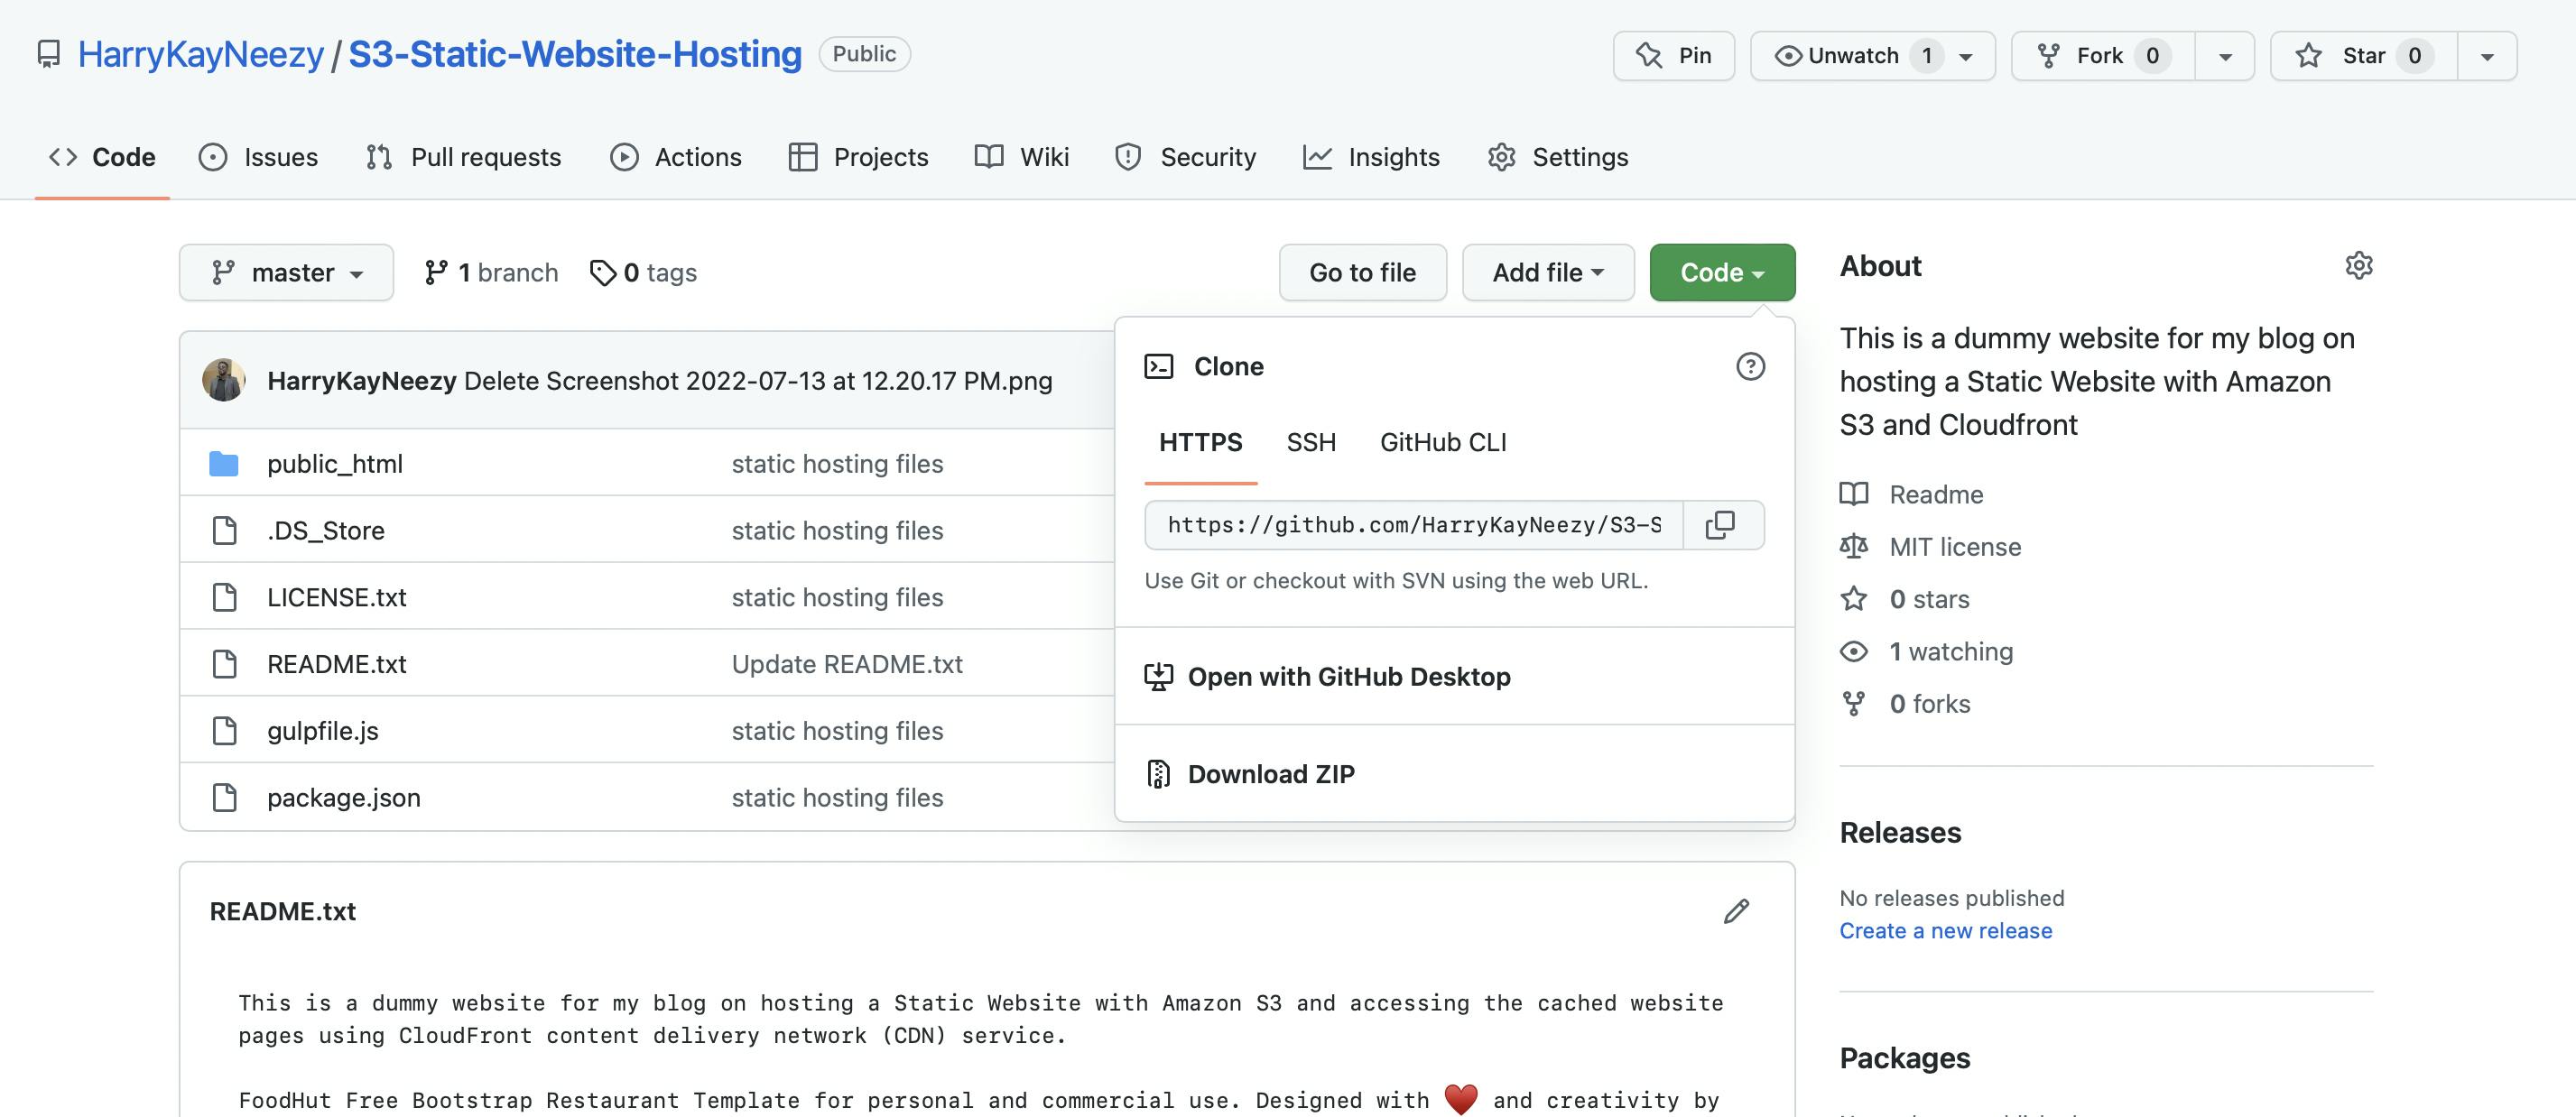
I have prepared a free template that we use as our static website for this project, which can be found on my Github repo - click here.-
Click on "Download zip" to download the files to your local computer and extract the website files to be uploaded to our S3 bucket.
- Now we are ready to upload the local files and folders to our S3 bucket. Click on the "Upload" button.
- Click the "Add files" and “Add folder” button, and upload the Static-Website-Hosting code folder content from your local computer to the S3 bucket. (You can also upload your own code - your own preference.)
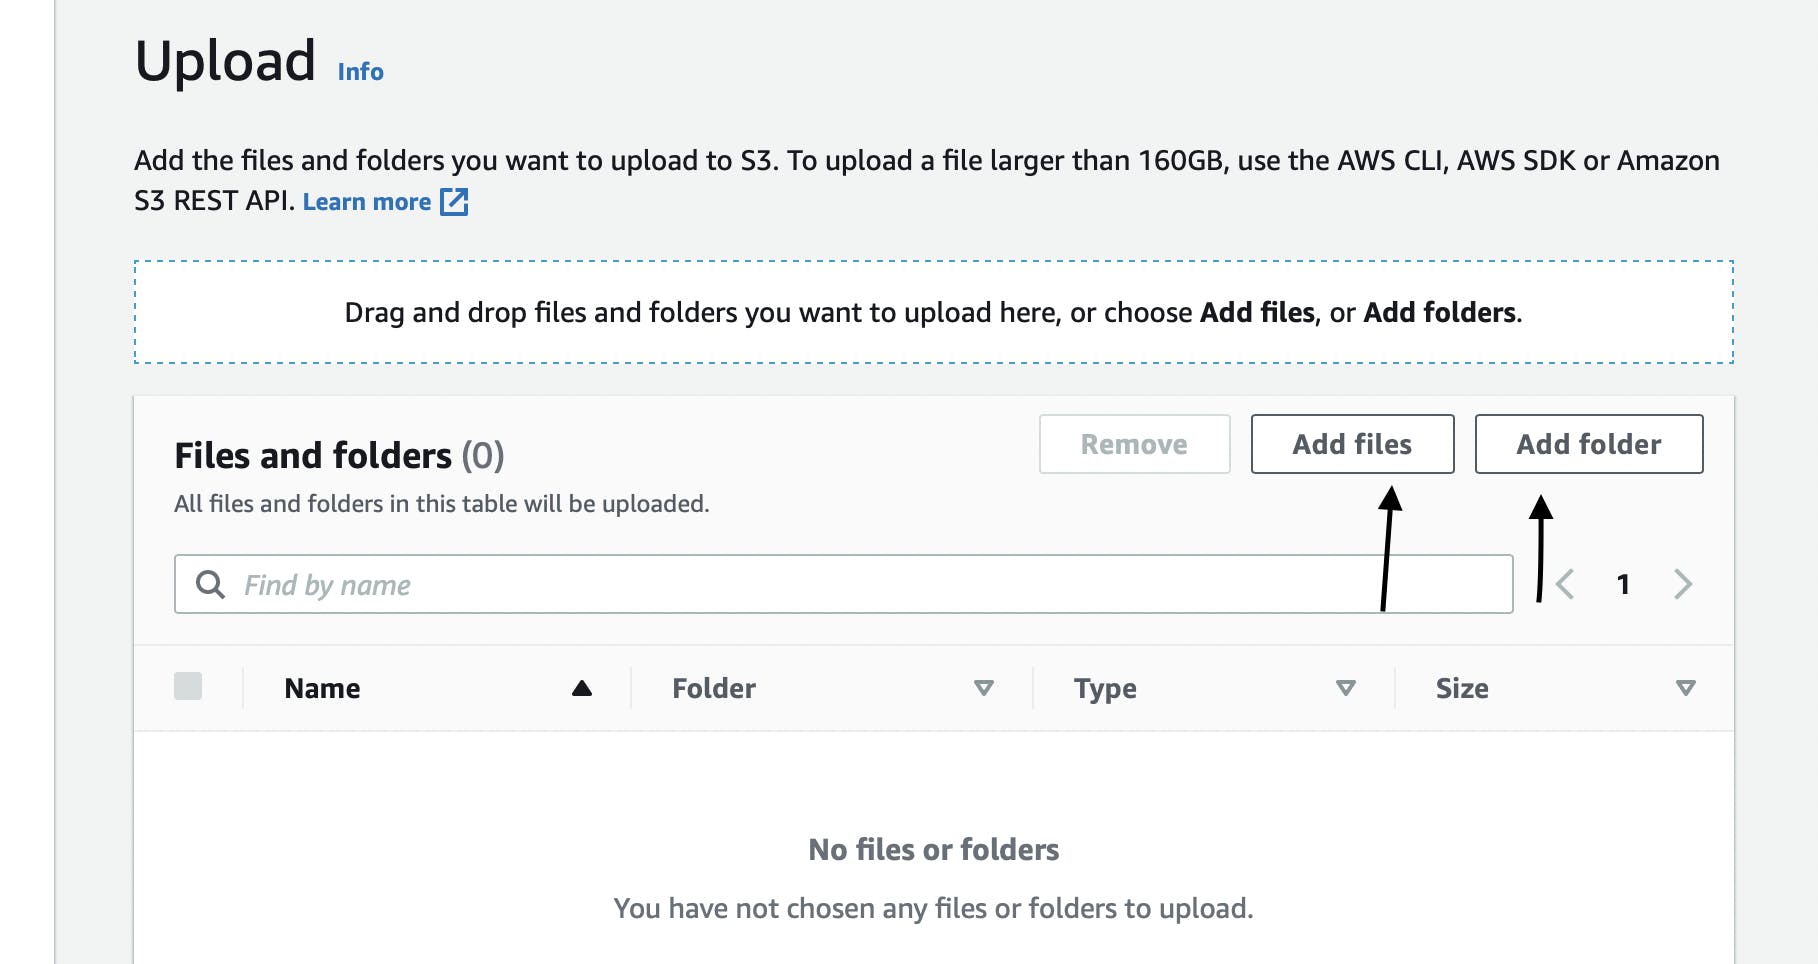
- Click "Add files" to upload the index.html file and components.html inside the public html, and click "Add folder" to upload the css, imgs, js, scss and vendors folders inside the assets folder.
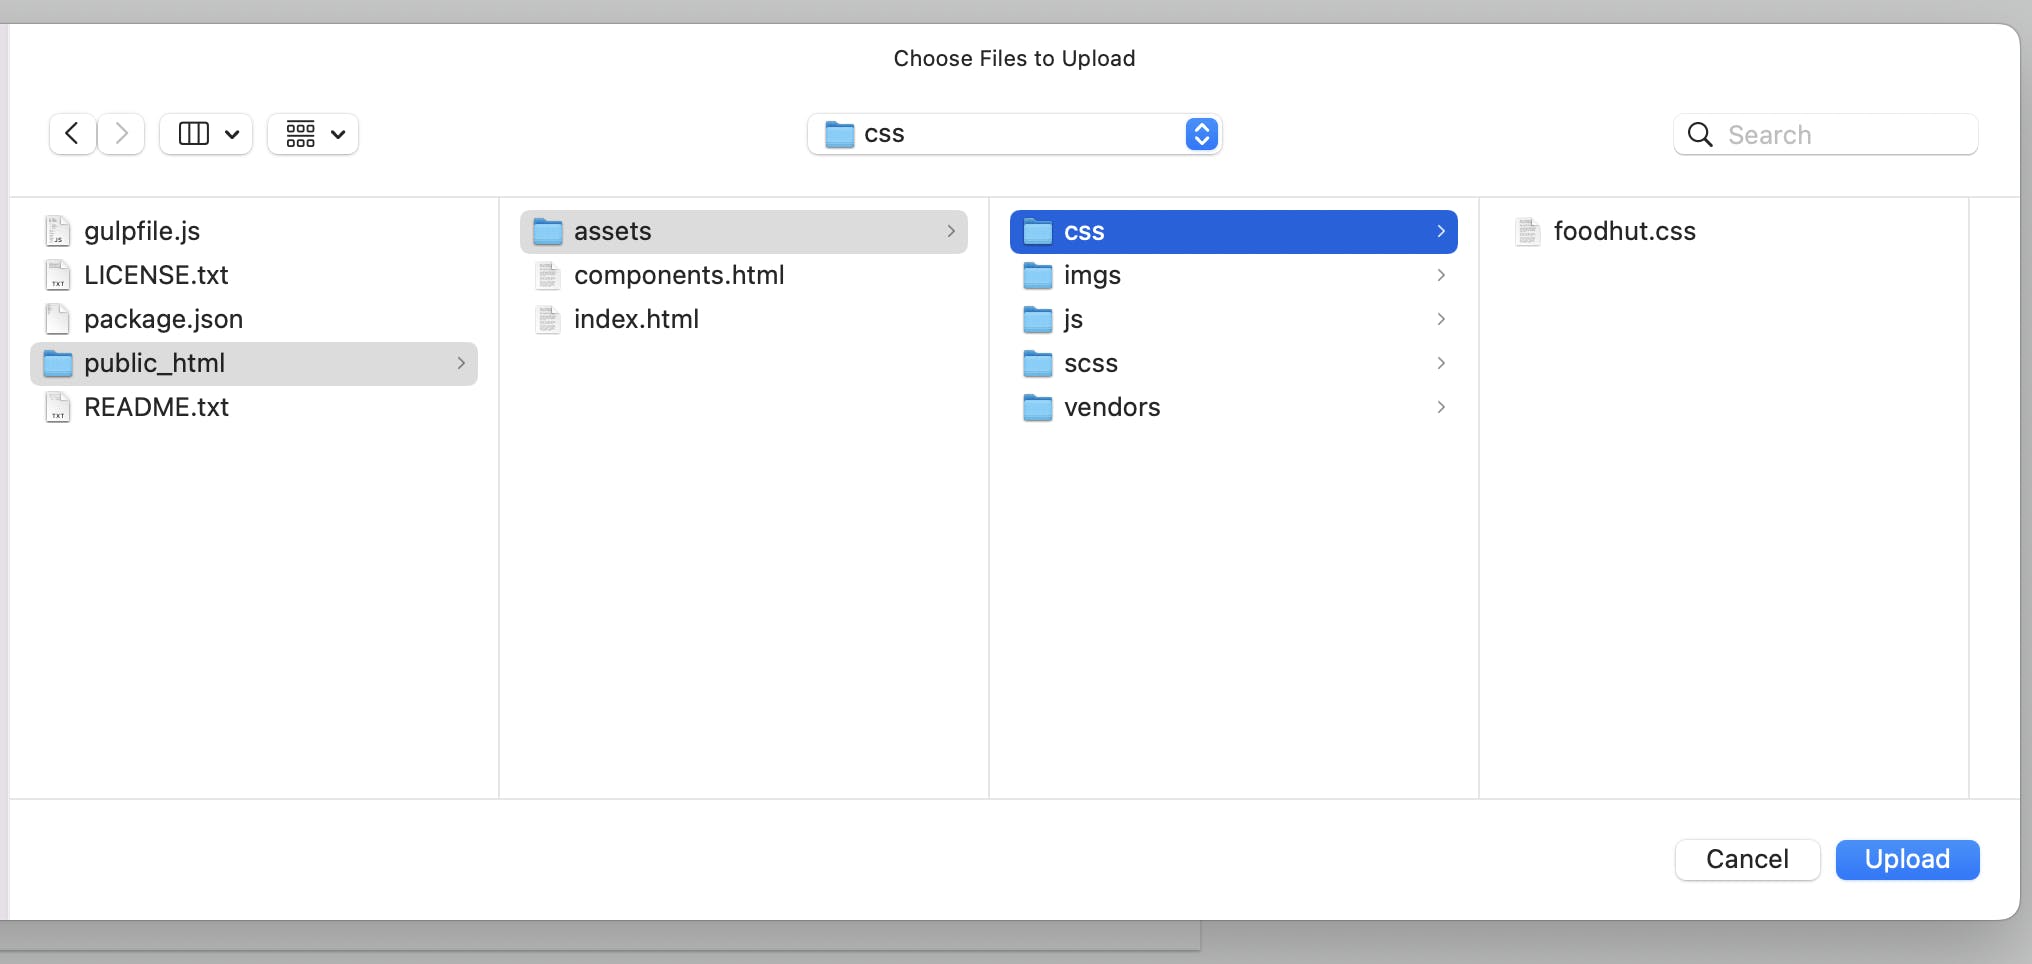 Do not select the entire static-website-hosting folder. Instead, upload its content one-by-one.
Secure your S3 Bucket via IAM
- Click on the “Permissions” tab.
- Under the “Bucket Policy” section . Click on the Edit button.
- Enter the following bucket policy replacing "your-bucket-name" with the name of your bucket and click “Save”.
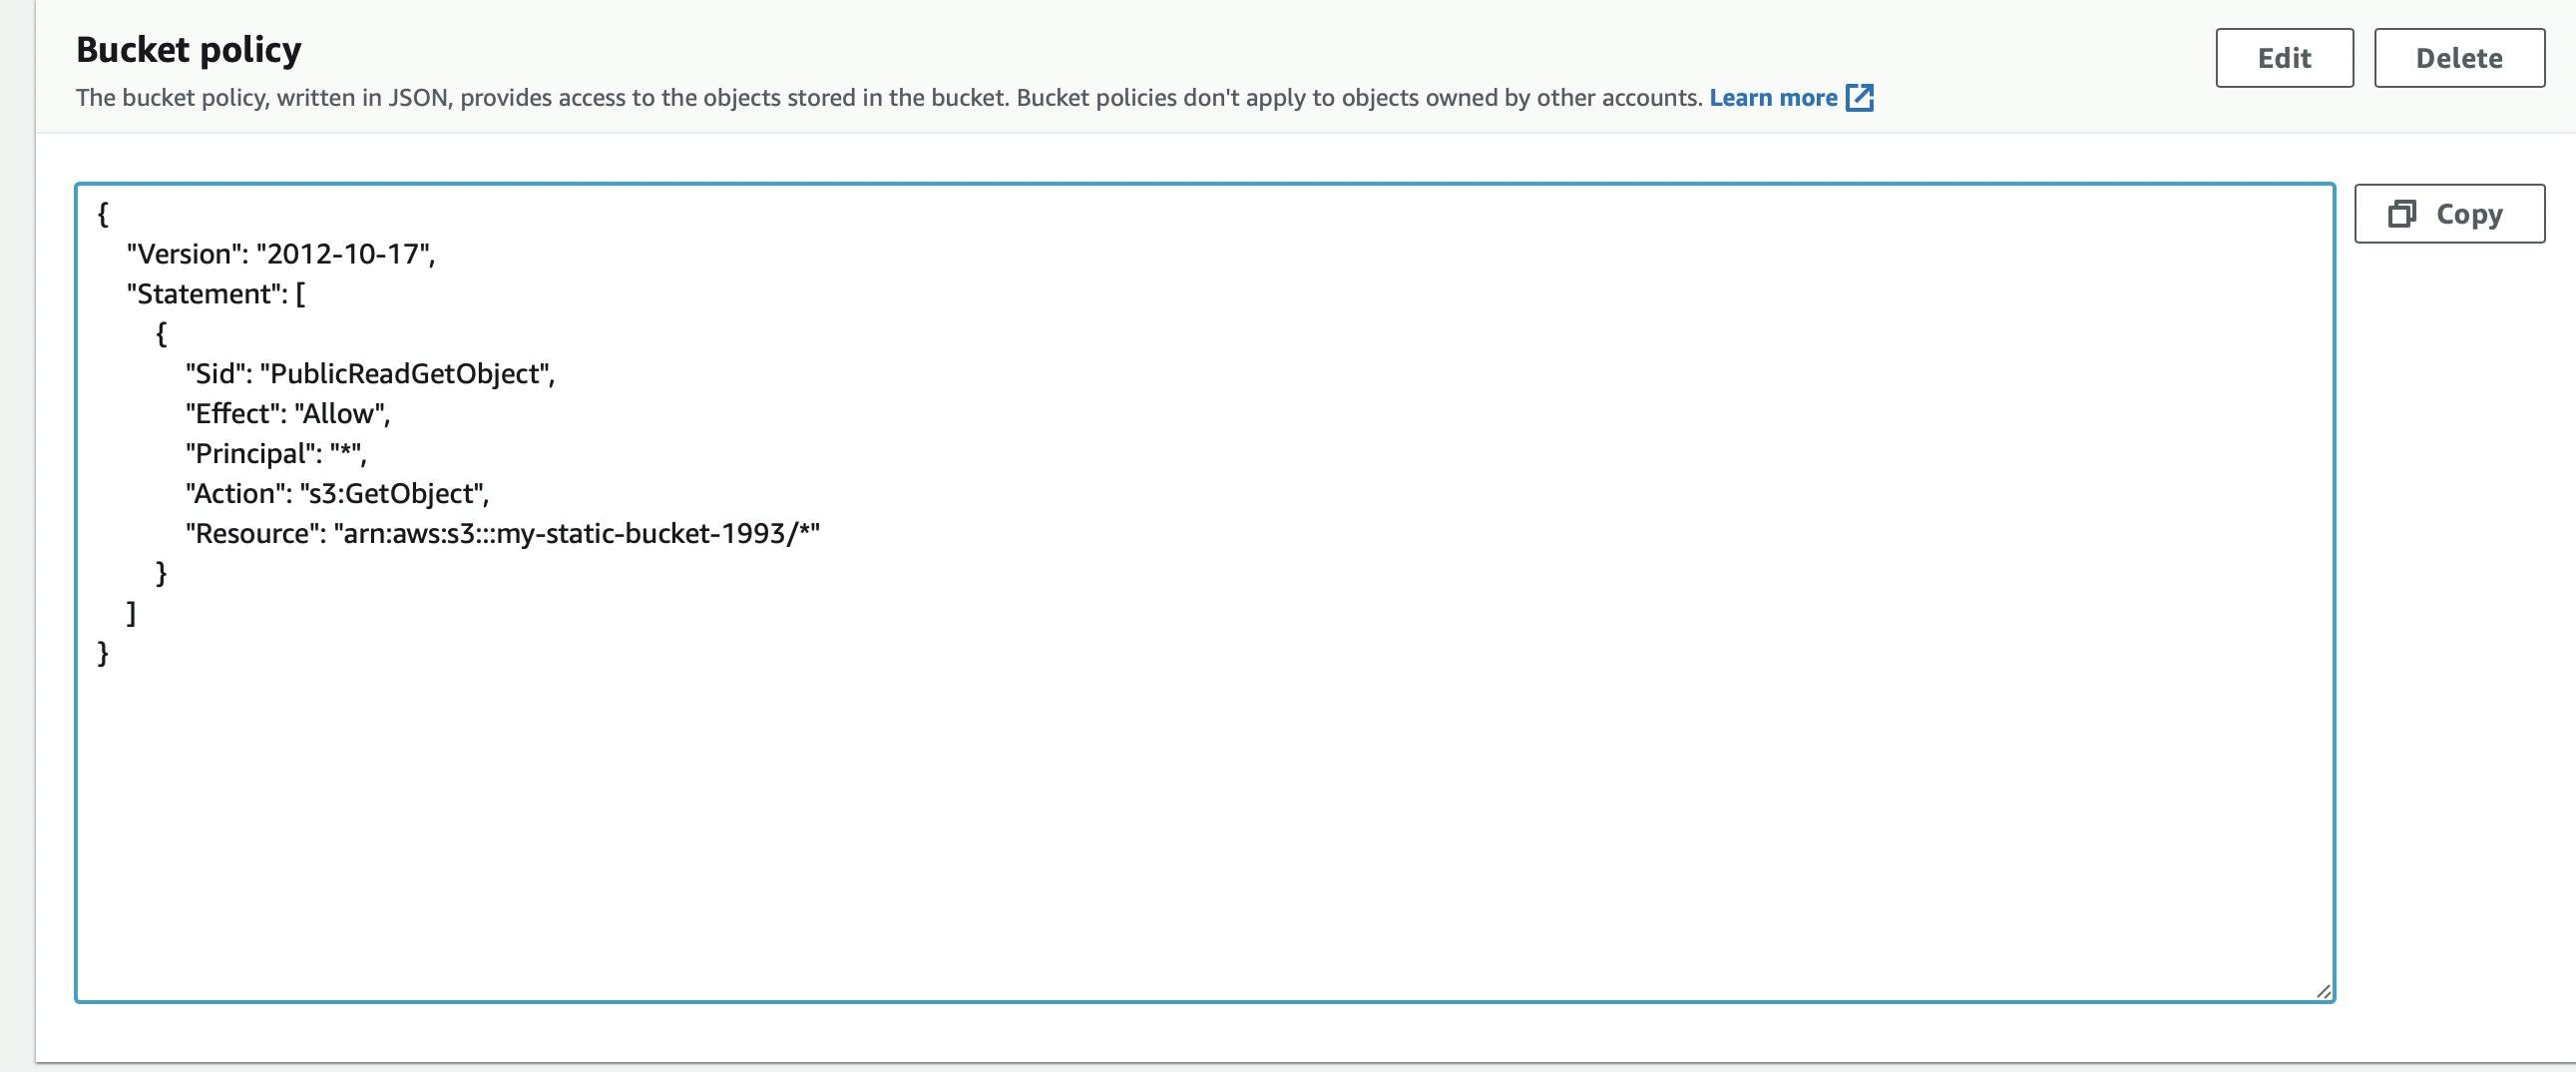
{

 "Version": "2012-10-17",

"Statement": [

{

"Sid": "PublicReadGetObject",

"Effect": "Allow",

"Principal": "",

"Action": [

"s3:GetObject"

 ],

"Resource": [

"arn:aws:s3:::Your-Bucket-Name/"

]

}

]

}
Copy the bucket policy directly from my GitHub project page to avoid indentation errors. ->here - awsbucketpolicy
Configure S3 Bucket
- Go to the Properties tab and then scroll down to edit the Static website hosting section.
- Click on the “Edit” button to see the Edit static website hosting screen. Now, enable the Static website hosting, and provide the default home page and error page for your website.
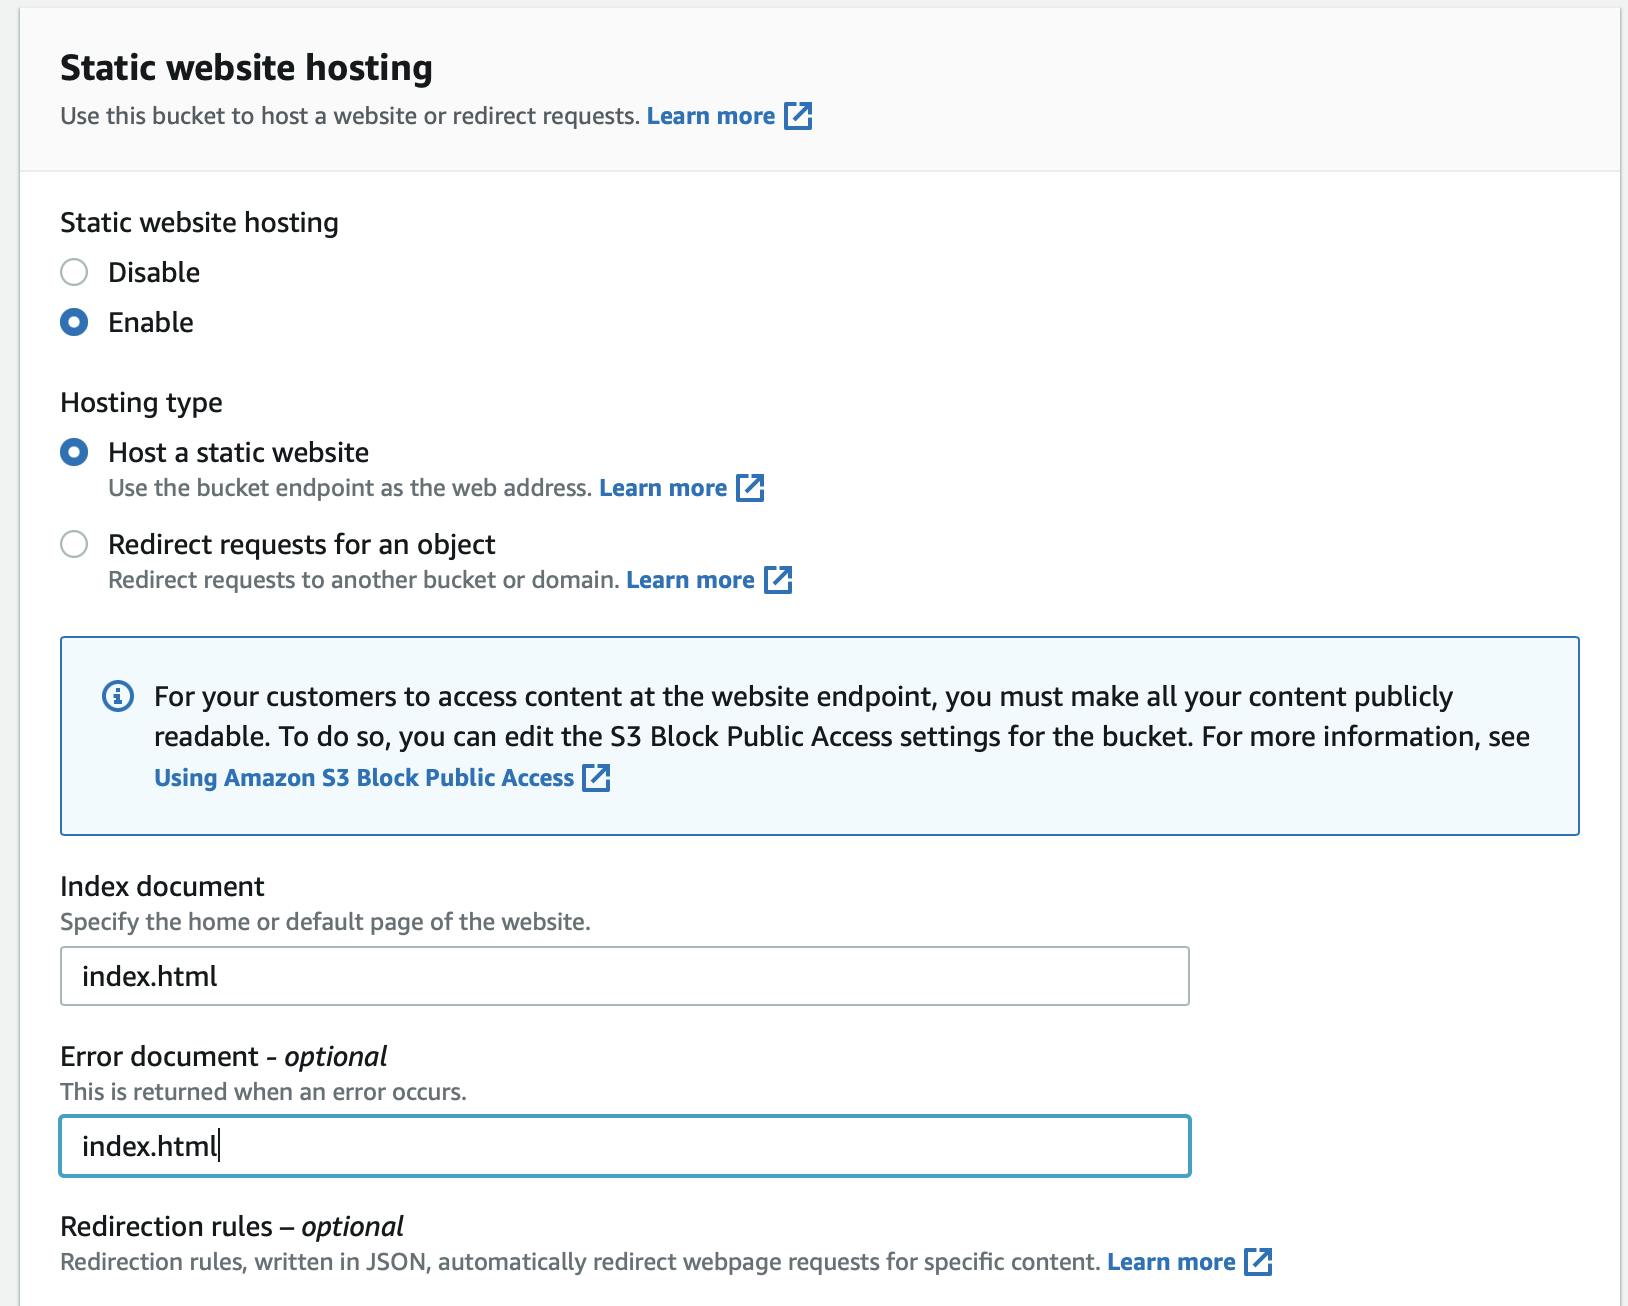
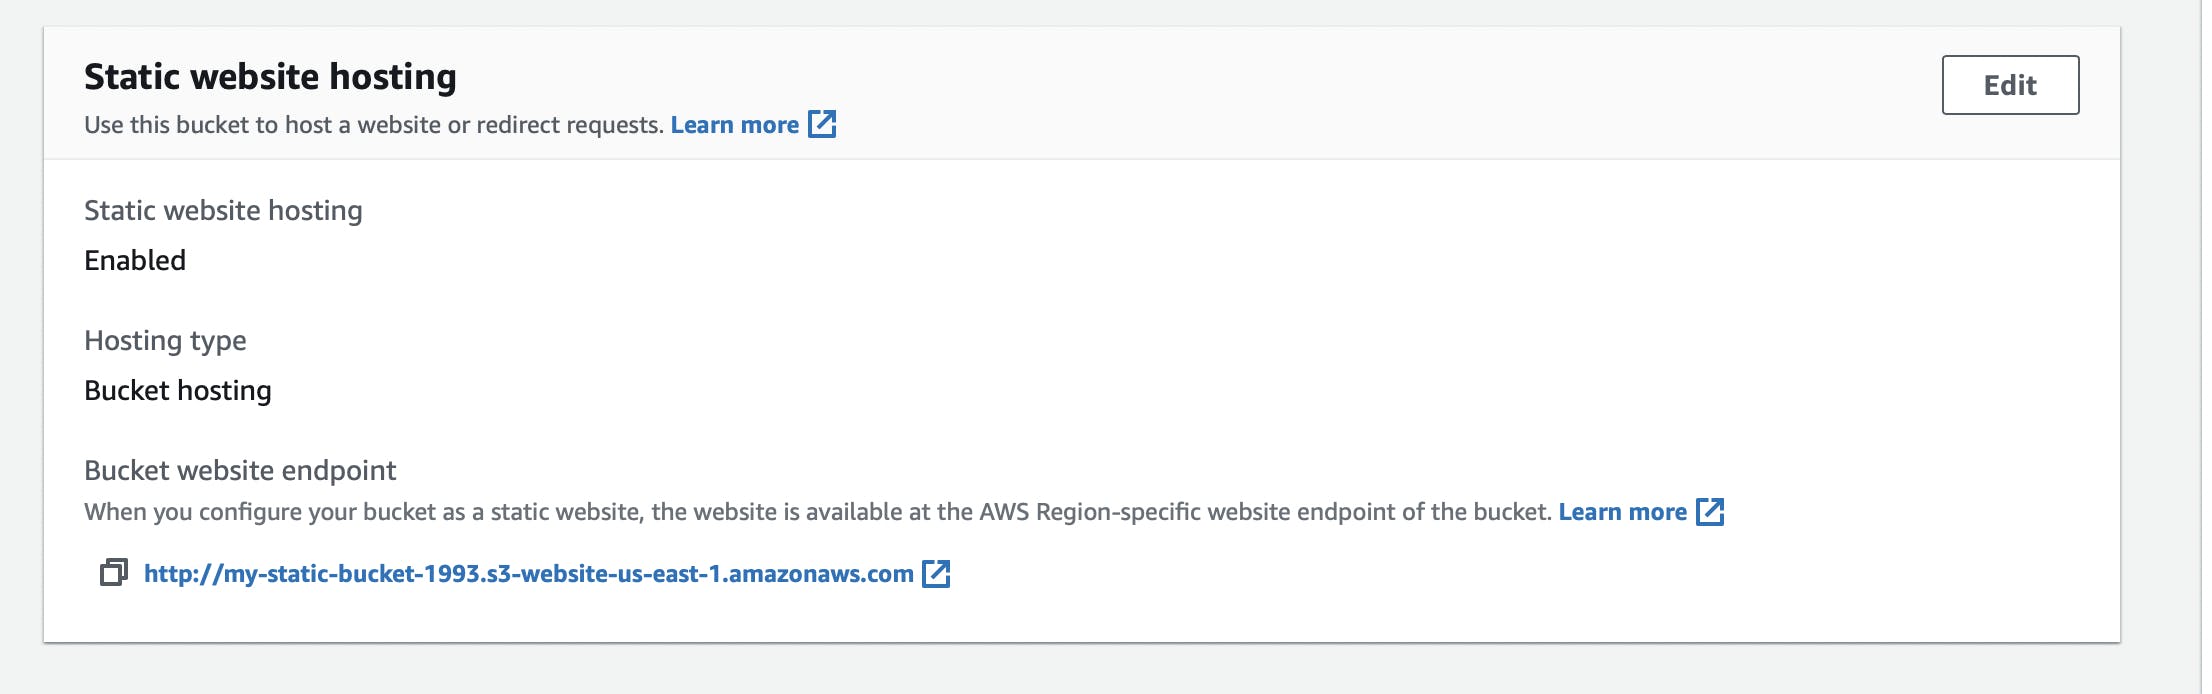
- For both “Index document” and “Error document”, enter “index.html” and click “Save”. After successfully saving the settings, check the Static website hosting section again under the Properties tab. You must now be able to view the website endpoint as shown below:
- Click on the bucket website endpoint to view your website page hosted on Amazon S3.

Congratulations you have hosted your static website on Amazon S3
Distribute Website via CloudFront
- Select “Services” from the top left corner of your AWS navbar(navigation bar) and enter “Cloudfront” in the “Search for services, features, ...” text box and select “CloudFront”.
- On the CloudFront dashboard, click “Create a Cloudffront Distribution”.
- On the Create Distribution Dashboard, Enter the Origin Domain name by pasting your bucket static website hosting endpoint into the Origin text box.
Do not select the bucket from the dropdown list. Instead, paste the Static website hosting endpoint of your bucket such as
<bucket-name>.s3-website-<region>.amazonaws.com. My endpoint ishttp://my-static-bucket-1993.s3-website-us-east-1.amazonaws.com. See below: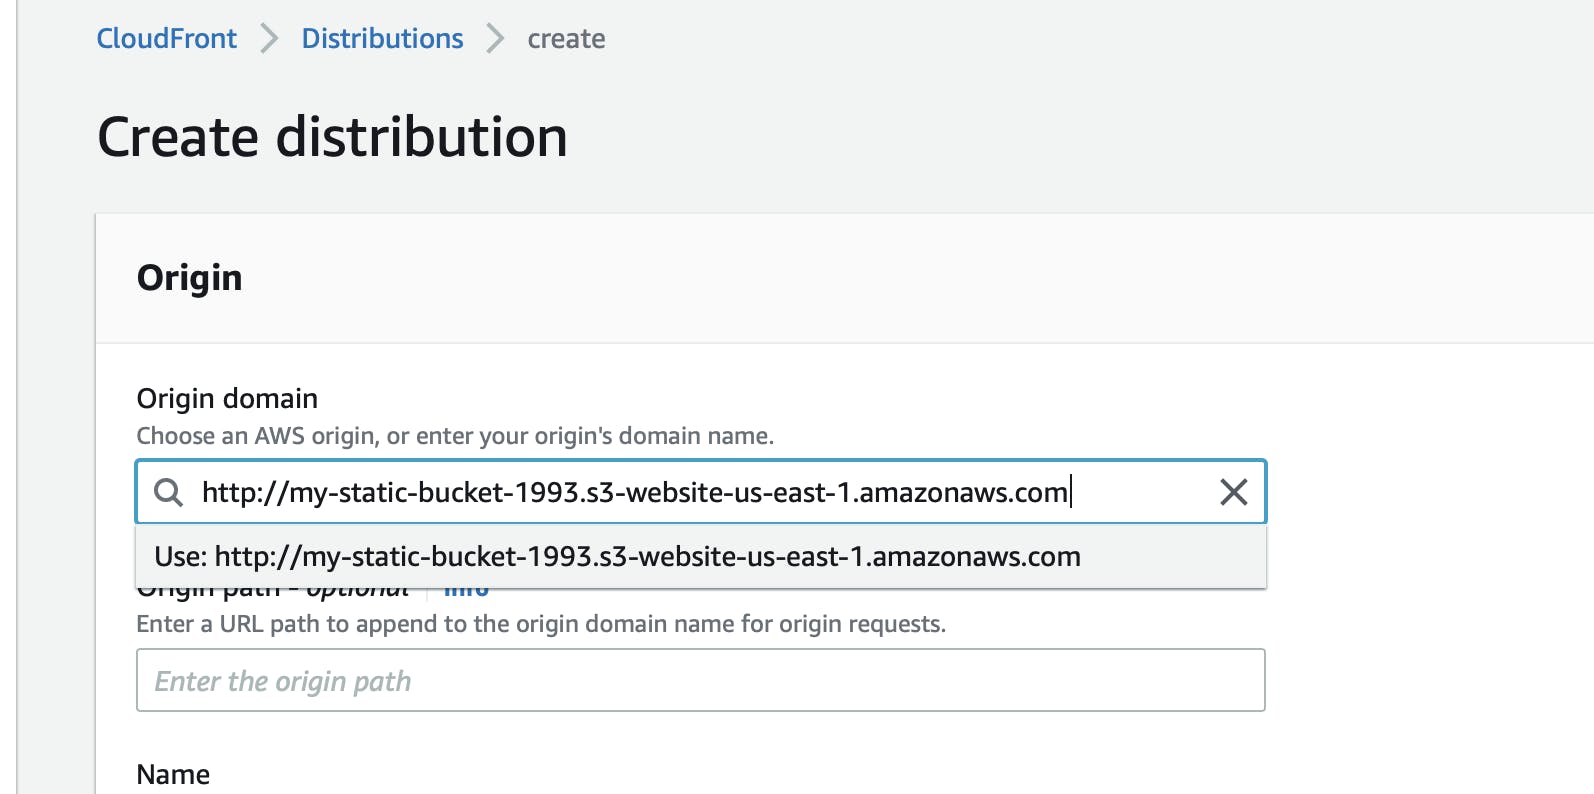
- Leave the defaults for the rest of the options, and click “Create Distribution”. It may take up to 10 minutes for the CloudFront Distribution to get created.
- Once the status of your distribution changes from “In Progress” to “Deployed”, copy the endpoint URL for your CloudFront distribution found in the “Domain Name” column.

My Domain Name value is
d3gmbl55xb907r.cloudfront.net, but yours will be different.
Access Website in Web Browser
Note - In the steps below, the exact domain name and the S3 URLs might be different in your case.
- Open a web browser like Google Chrome, and paste the copied CloudFront domain name (such as,
d3gmbl55xb907r.cloudfront.net) without appending /index.html at the end. The CloudFront domain name should show you the content of the default home-page, as shown below: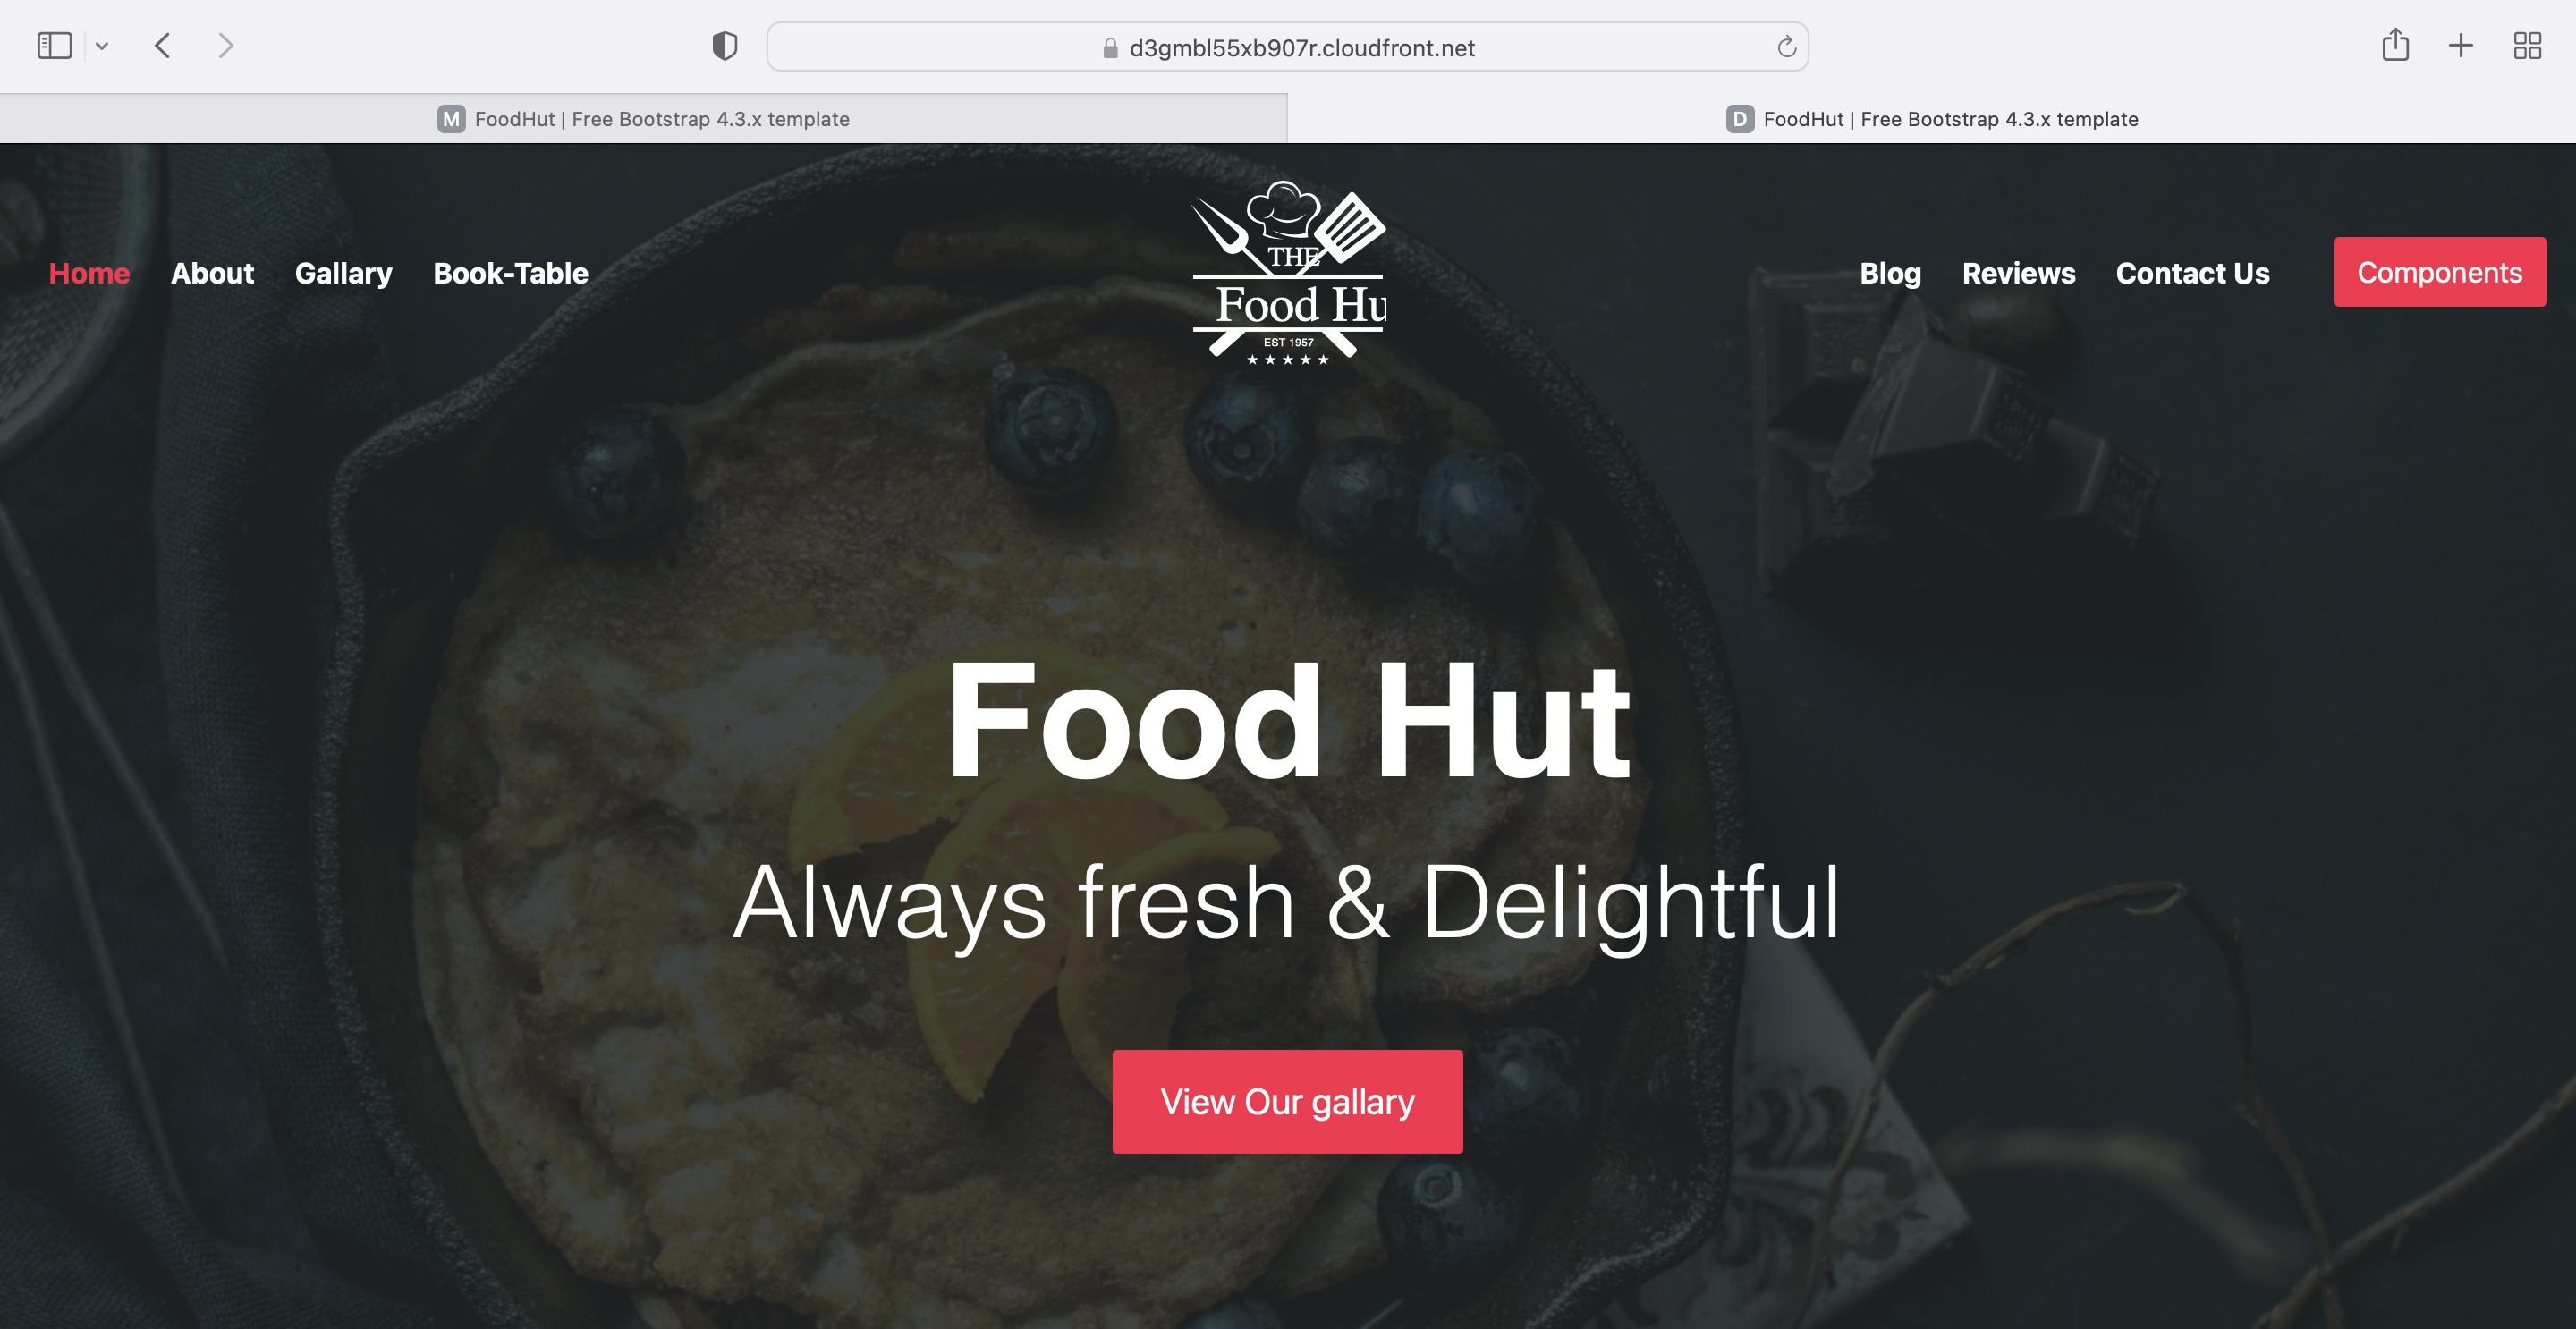
The image above shows the hosted static website page displayed at
https://d3gmbl55xb907r.cloudfront.net - Access the website via website-endpoint, such as
http://<bucket-name>.s3-website.us-east-1.amazonaws.com/ - Access the bucket object via its S3 object URL, such as,
https://<bucket-name>.s3.amazonaws.com/index.html
(Mine is
http://my-static-bucket-1993.s3-website-us-east-1.amazonaws.com)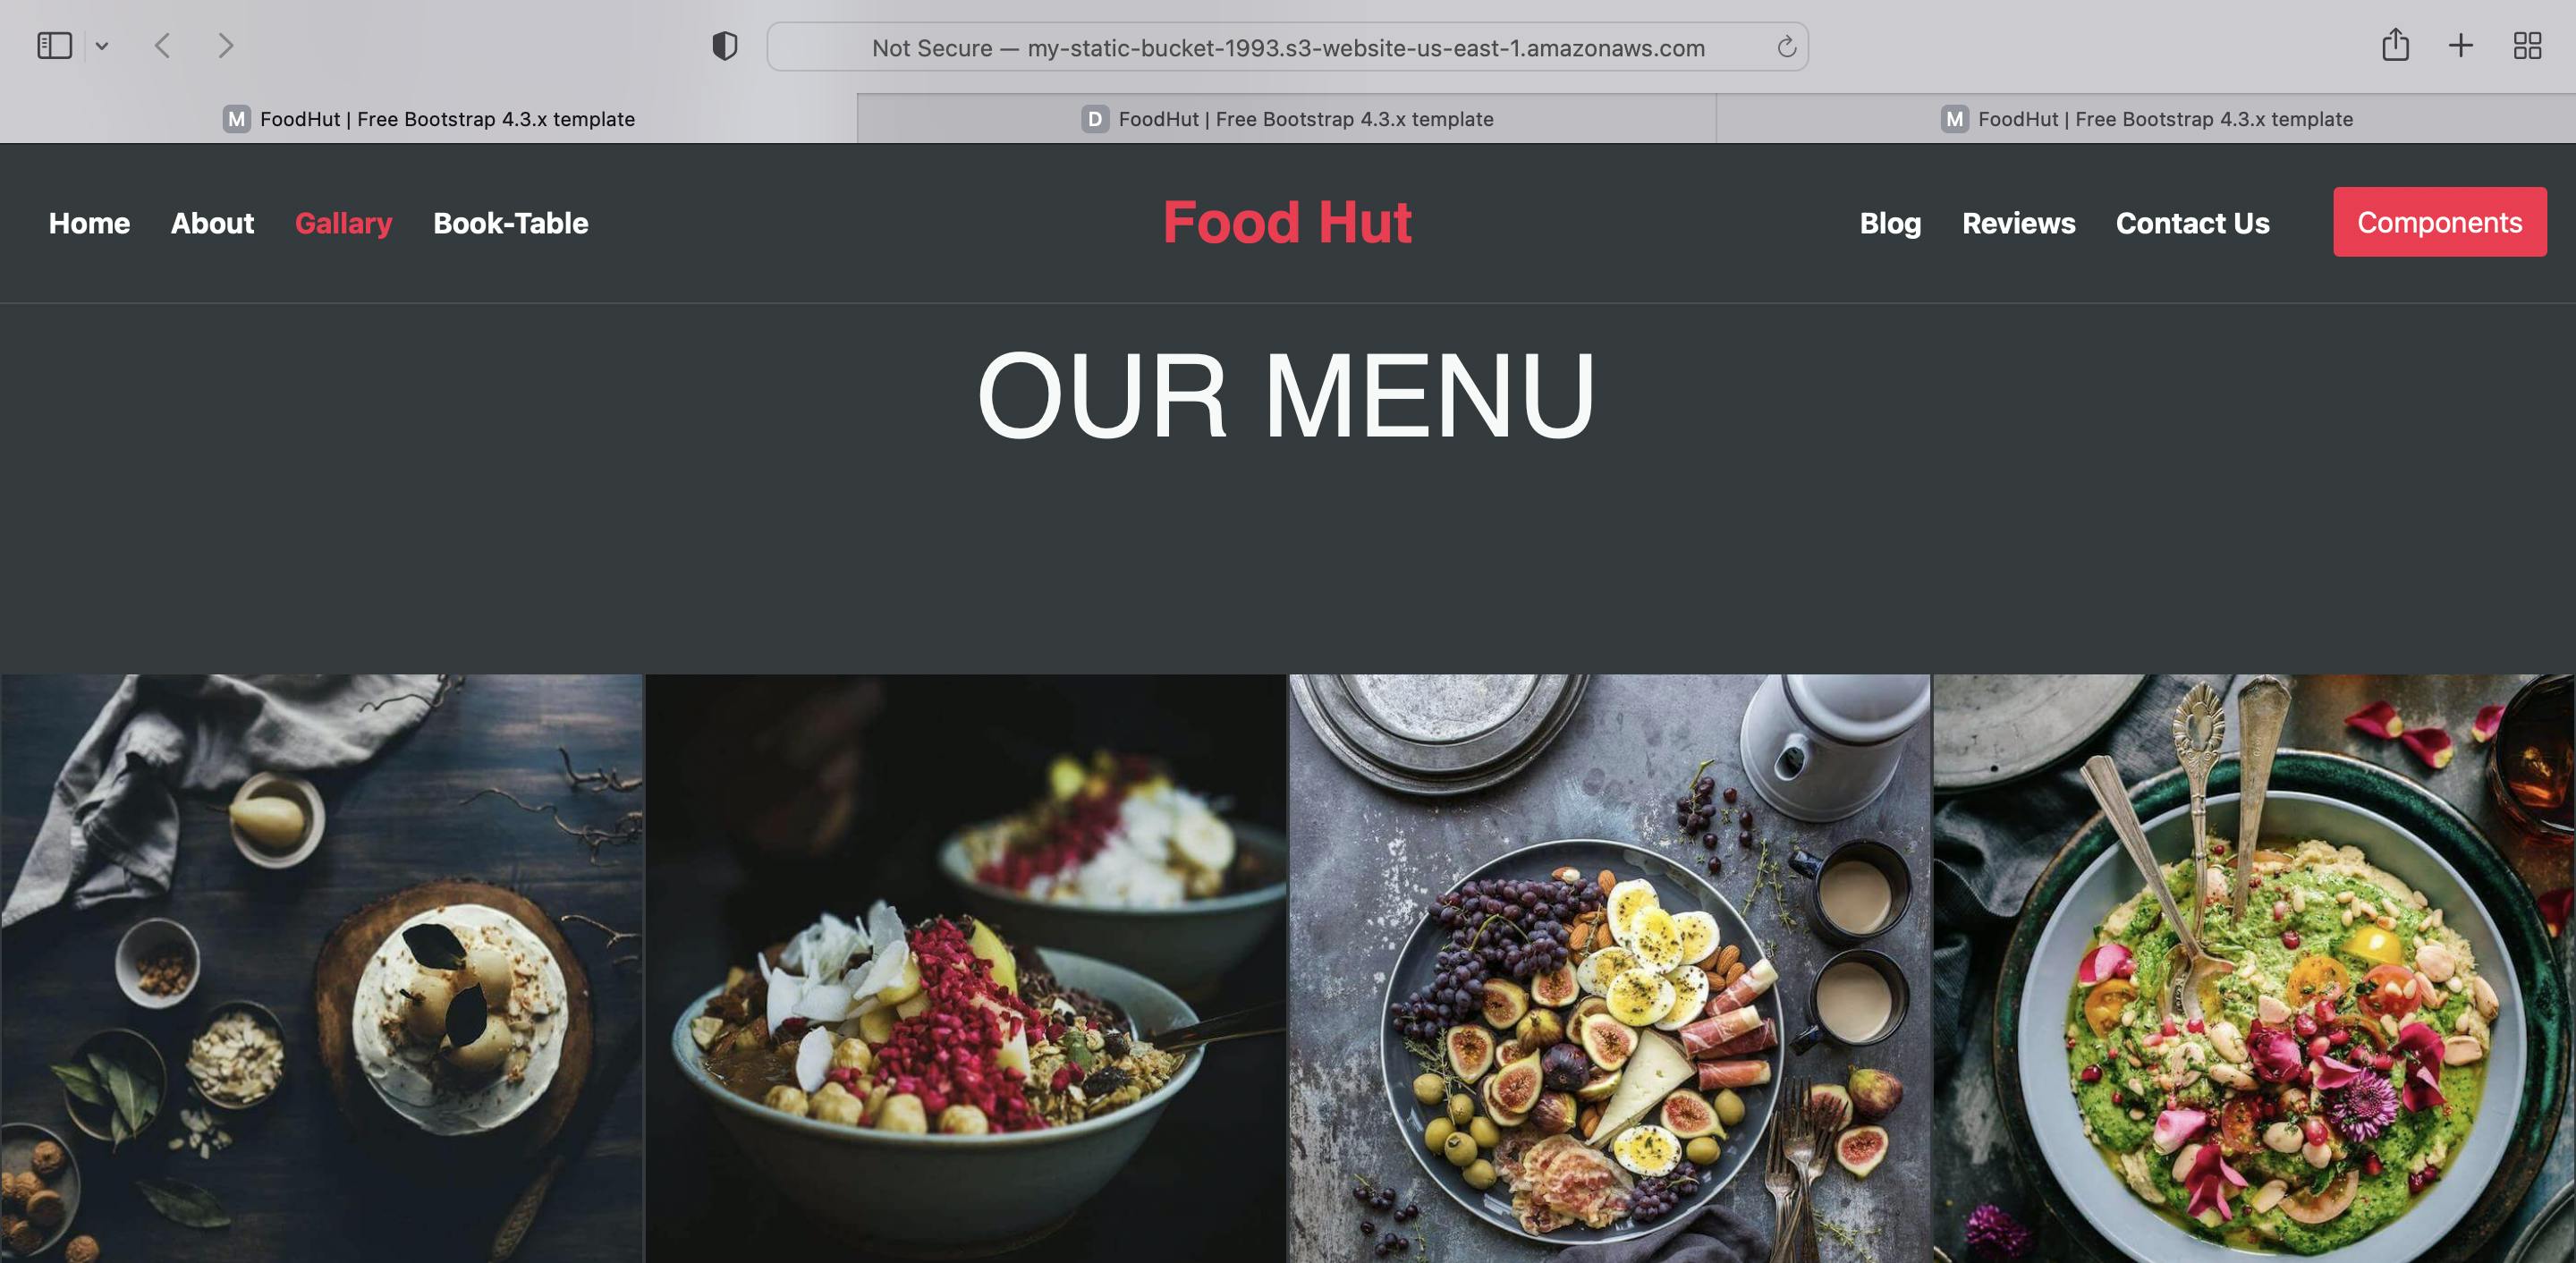
(Mine is
http://my-static-bucket-1993.s3.amazonaws.com/index.html)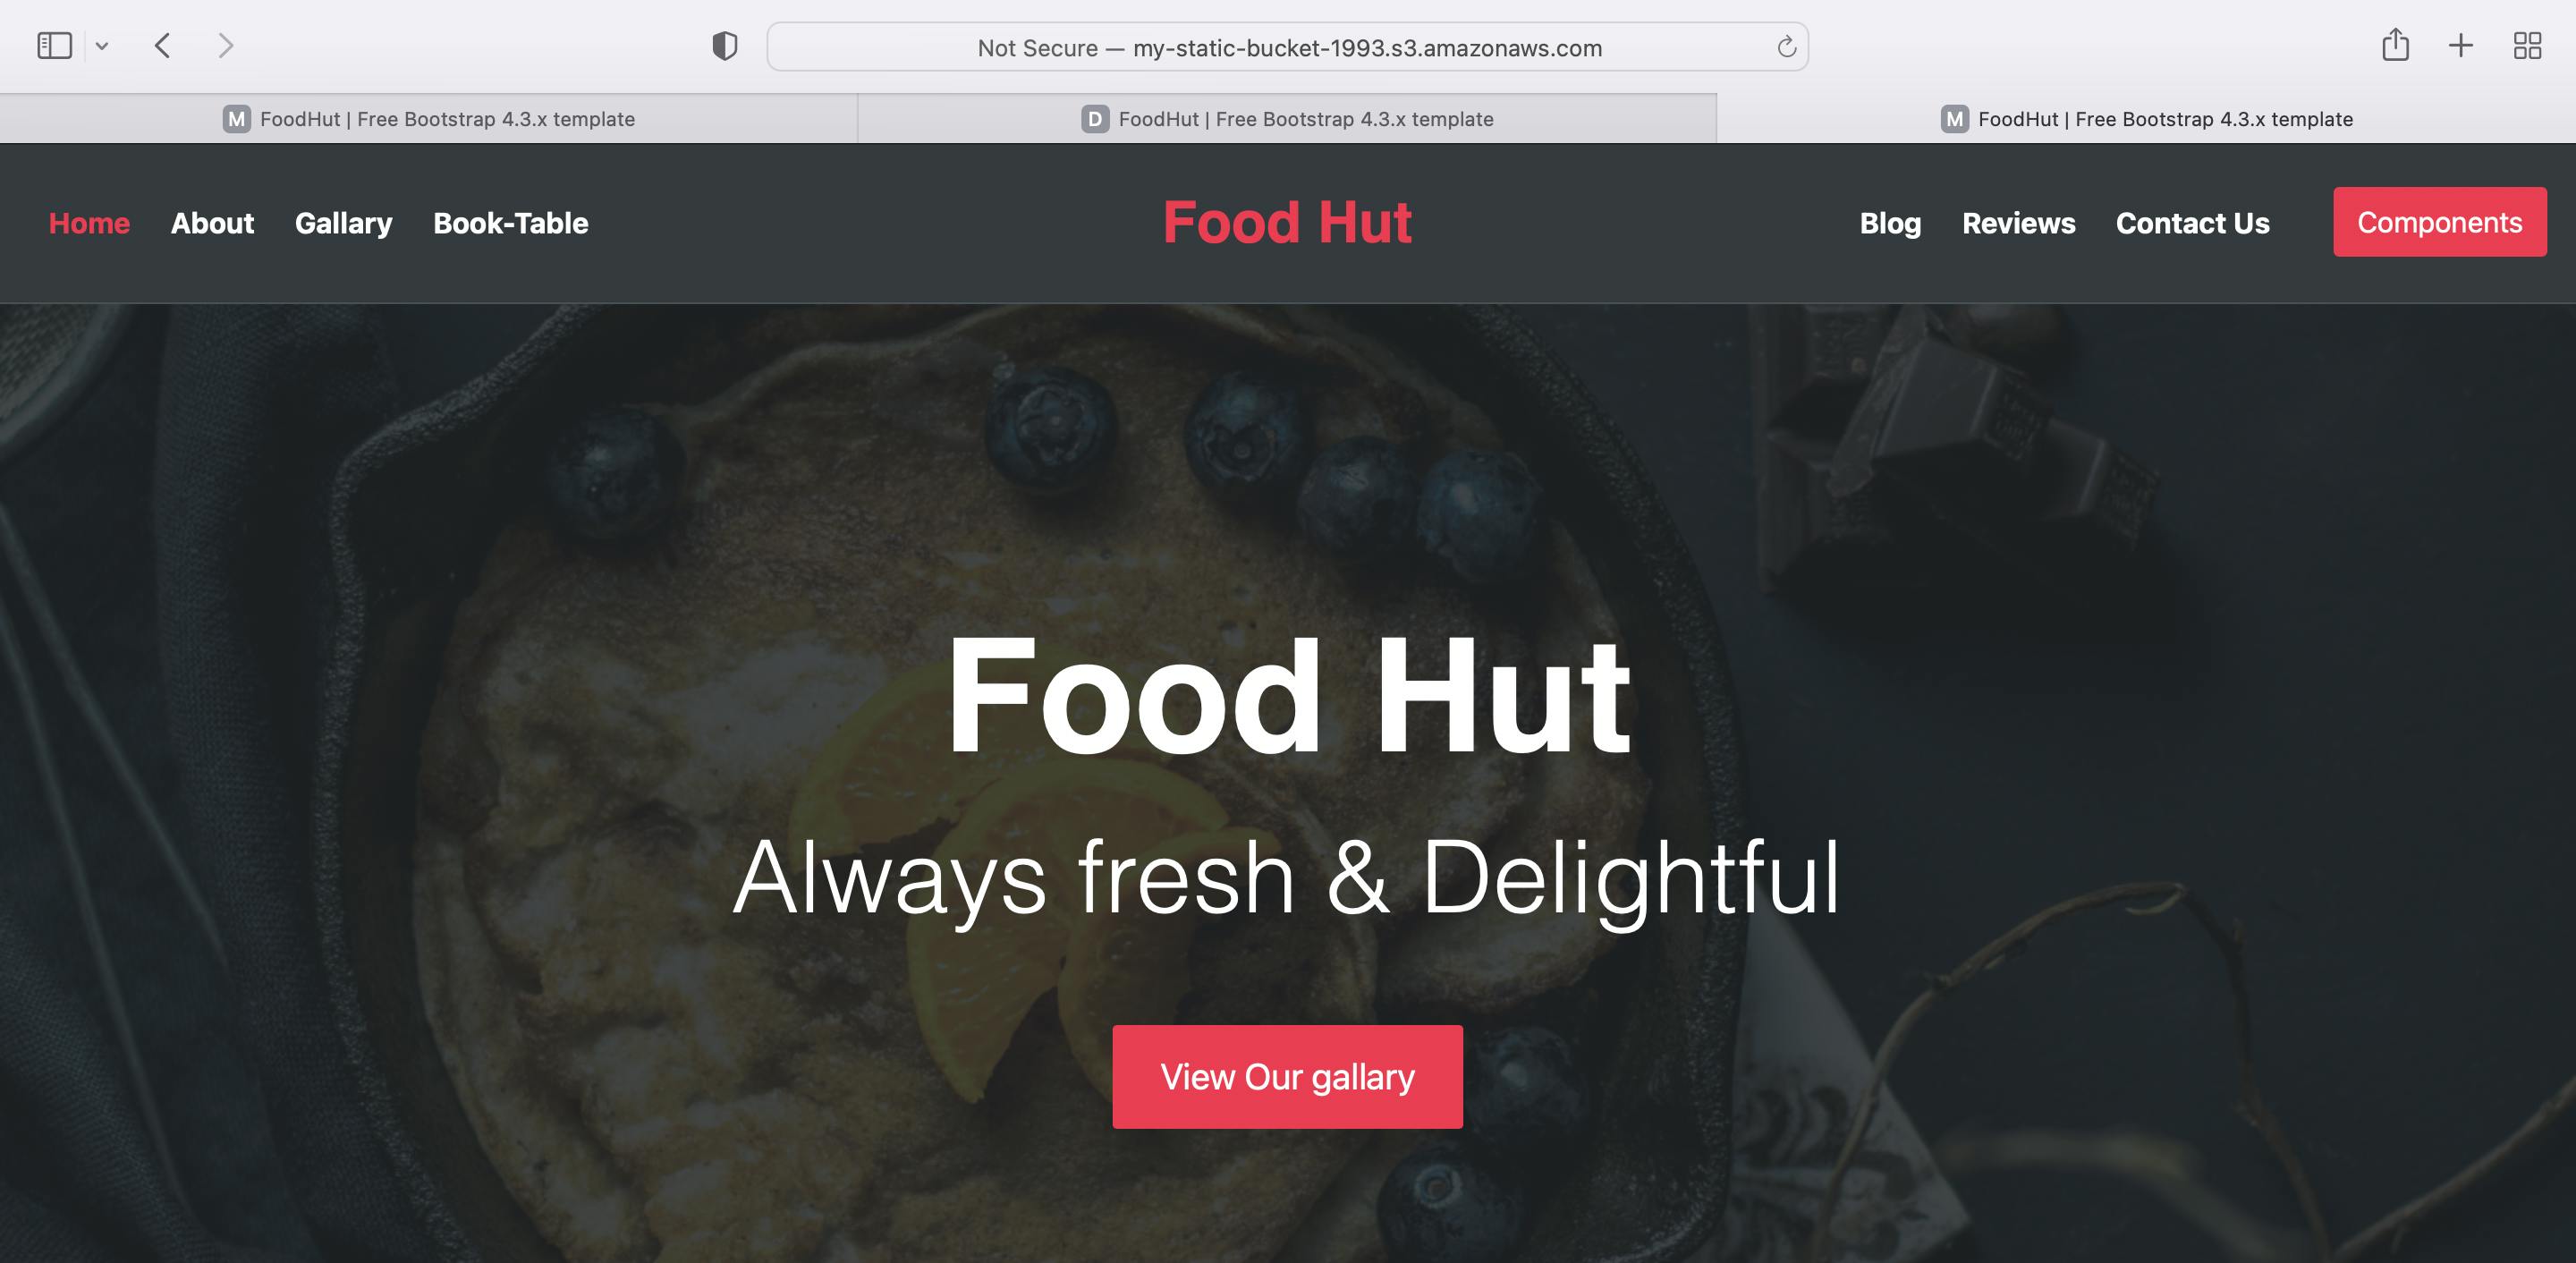
All three links: CloudFront domain name, S3 object URL, and website-endpoint will show you the same
index.htmlcontent. -
Click on "Download zip" to download the files to your local computer and extract the website files to be uploaded to our S3 bucket.
Congratulations you have hosted your static webpage on Amazon S3 and successfully done the following;
- Created and configured an S3 bucket for website hosting, and secured it using IAM policies.
- Uploaded the website files to your bucket and sped up content delivery using AWS’s content distribution network service, CloudFront.
- Accessed your website in a browser using the unique S3 endpoint and Cloudfront domain name.
Read more on Amazon S3 and Amazon CloudFront on the Amazon Web Services pages including the Frequently Asked Questions (FAQs) to gain more insights into these AWS services.
Reminder - Delete/shutdown every AWS resource (e.g., S3 buckets, Cloudfront distribution) that you will not be no longer using.